Tag: design

Architecture & Building, The science of a happy home

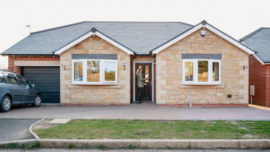
Designing A Home For People With Disabilities

For those who have a  disability, the opportunity to adapt their house or create some more space could dramatically improve their quality of life. However, the inclusive design goes much further than making a house wheelchair-friendly. 

Willingness to make a house useable to the greatest extent to every individual. Regardless of their physical condition and ability leads to the development of an idea called “universal design” for homes.  

What is universal design?  

Universal design is the design and composition of an environment so that it can be accessed, understood, and used to the greatest extent possible by all people. Regardless of their age, size, ability, or disability.   

Making a more accessible home –  

Building an accessible home could mean catering for those with impaired movement, failing eyesight, or reduced hearing. You may need to make your home accessible if you have become temporarily disabled. For example getting an injury, illness, or even pregnancy.

Movability within and outside the home – 

People with limited mobility may find standard homes a little too cramped and hard to move around in. Wheelchair users need their homes to be wider than usual. A good way to ensure that limited space doesn’t become an issue is by creating an open-plan space. By having an open plan living area, you would be able to get around easier if you struggle with mobility, or impaired senses.  

You should replace all doorknobs with lever handles. So, that they can be used by everyone. They can be easily grabbed by a person with arthritis or Parkinson’s issues. They can also be opened with an elbow if need be.   

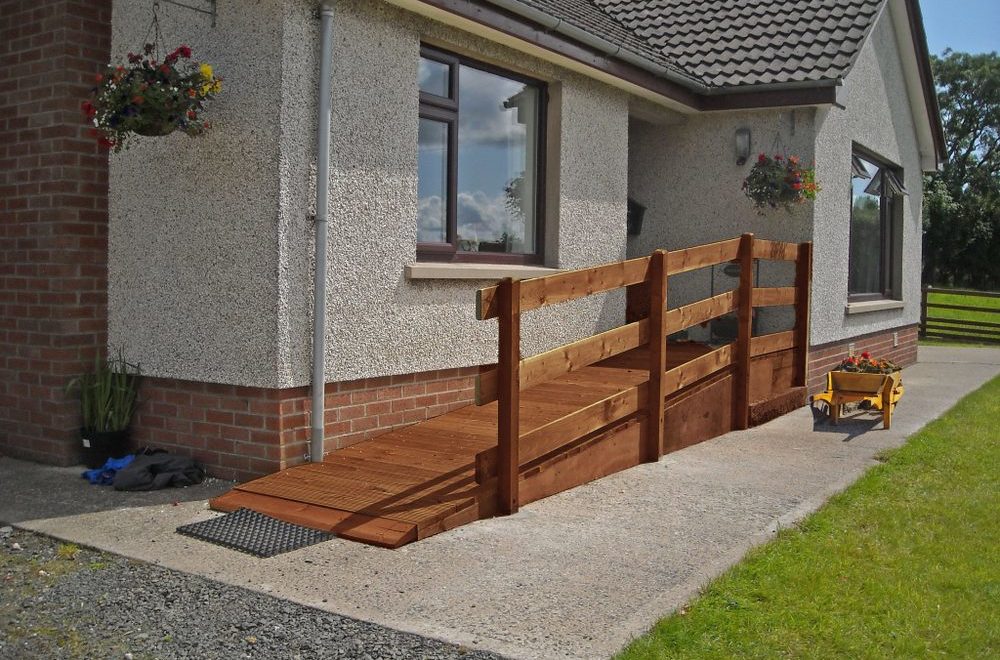
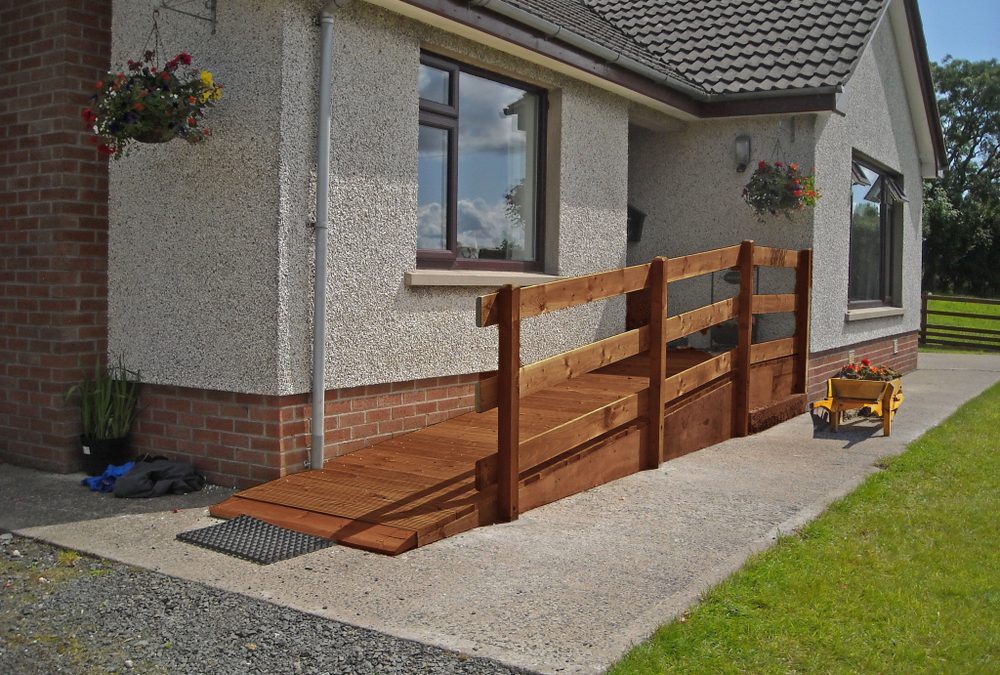
The outside designs need to offer straightforward access between the car and the house. The driveway and pavement leading to the house should be wider than a traditional house. And there should be a ramp instead of stairs leading to the house. 

Building an inclusive layout –  

Having a standard layout will not work with a wide majority of disabled people, the goal is to make sure those with reduced mobility can use everything in the house. 

 Storage is a big thing to keep in mind when designing this type of house. Having plenty of built-in storage is useful because it helps to avoid clutter.

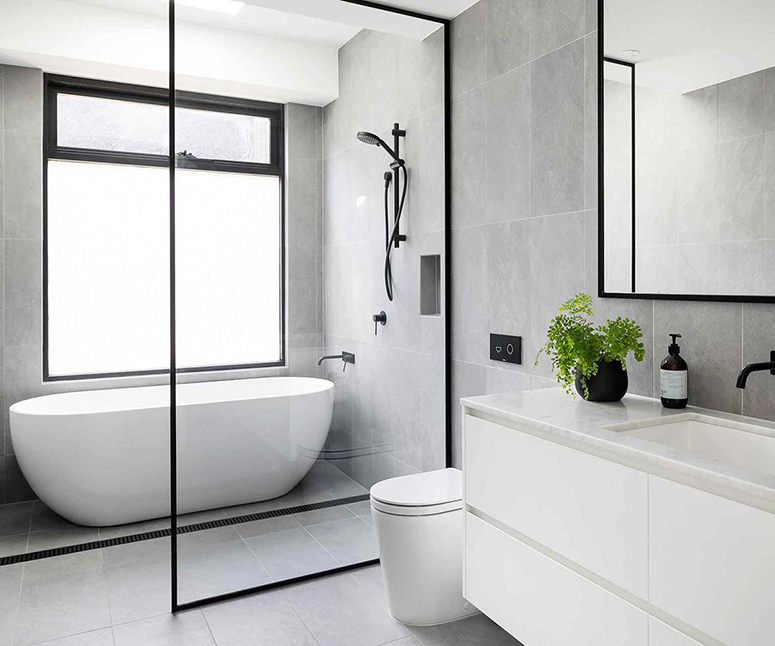
Including a wet room is great for accessibility because the shower area can be an extra maneuvering zone. Plus they allow for someone to wash while seated.  

Installing handrails and bars to hold on to all over the house will also be beneficial to the people living in the house.   
Contact us

Design and insperation, Interior Design

Important Information About Adding A Wet Room Into Your Home

A wet room can definitely add a wow factor to your home by giving it a stylish, modern look. While also being accessible to everyone especially if you struggle with mobility.  

What is a wet room?  

Wet rooms are a space that is entirely open plan. The floor is altered to allow water to flow away through a drain on the floor. They can also feature a shower screen to reduce spray in the bathroom.  

How to install a wet room floor –  

  • Firstly, prepare sub-floor, install extra noggins. 
  • Install waste support within joist space, fit flat floor area. 
  • Fit supplied wet floor waste into waste support and connect pipework.  
  • Fit the shower tray in accordance with application instructions and make good around the edge if necessary.  
  • Install aqua proof tape, corners, and sleeves in line with full application guidelines.  
  • Fully waterproof room with aqua proof system, clamp shower outlet sleeve into position with membrane clamping ring.  
  • Tile from waste outwards treating the tile set frame as your first tile.  
  • Place the tile set into the frame.  

Advantages –   

Easier to clean – the Maintenace and cleaning is made easy due to the minimal appliances and fewer things to clean around.  

Accessible for children and people with mobility problems – being accessible is one of the biggest benefits. For anyone who may have trouble getting in and out of the bath or shower, wet rooms can be liberating. You can simply just walk in and out, as the floors are level and water and slip-resistant.  

Increases the value of your home – having a wet room as a second bathroom is a feature that many homeowners look for. “Adding a new bathroom to your home will add an extra 2.88% to the value of it, a wet room is likely to add even more”. Quoted by Phil Spencer

Works in small bathrooms – if you’re struggling with space then adding a wet room can create a great illusion. And because everything is waterproof wet rooms can give you more space.  

Disadvantages –  

Wet rooms can get damp and steamy – dampness can be a problem especially if your bathroom is small. However, this can be easily fixed with good ventilation and an extractor fan.  

Not practical for everyone – not everyone wants a wet room in their house, they may prefer a traditional bathroom. So, it could become more expensive for the homeowner if they were to get it removed  

Costs of a wet room –  

The average-sized wet room will cost around £16,100, including the materials and the labor. They cost about 20-30% more than a typical bathroom installation. The job will usually take around 4-7 days.  

Top 20 | Wet Rooms – CECILIA MOYER : Lifestyle Blogger

Contact us

Advice Center, Architecture & Building

Find Out The Fastest Way To Get Technical Measurements: 3D Laser Scanning

Here at Pro Arkitects we are using a state-of-the-art 3D Lazer scanner, to get the technical measurements of your property. If you are interested and want to find out more about the scanner and what it does, read on.   

What is 3D scanning?  

3D scanning is used widely in architecture and construction. It is a highly accurate method to capture the details of an existing building or construction site. The laser scanning can help designers visualize their designs by using real building data as a foundation.  

Laser scanning in architecture –  

The ability to scan buildings in high detail makes 3D scanning a very popular request when it comes to surveys. With the high accuracy information, it saves productivity and time which is important when delivering results to a client.  

How does 3D scanning work?  

 The laser projects a line of laser light onto the surface. While 2 sensor cameras, continuously record the changing distance and shape of the laser in 3 dimensions as it goes along the object.  

Pros and cons of 3D scanning –  

Pros –  

  • Between 1 and 2 million points of measurable data is collected per second.  
  • It takes a fraction of the time compared to measuring by hand.  
  • You will get the drawings quicker.  
  • Helps design teams to save money.  
  • Increases professionalism of your project. 
  • Gives architects confidence in their work. 

Cons –  

  • The laser scanner is very expensive  
  • Errors could happen while the scanner is scanning  

Functionality –  

The purpose of a 3D scanner is to create a 3d model. However, the 3D models often consist of a point cloud of geometric samples on the surface of the design.  

The scanner shares similar traits with a camera, and like cameras, they can only collect information about surfaces that are not obscured. While cameras collect colour information about surfaces within their field of view, a 3D scanner collects distance information about surfaces.  

However, a single scan will not produce a complete model of the building. You will need to do multiple scans, in different directions to get the information of all sides of the project.  

Notre Dame fire will accelarate the adoption of 3D scanning of historic  sites

Advice Center

The Ultimate Guide To Knowing About A Drop Kerb

What is a drop Kerb? 

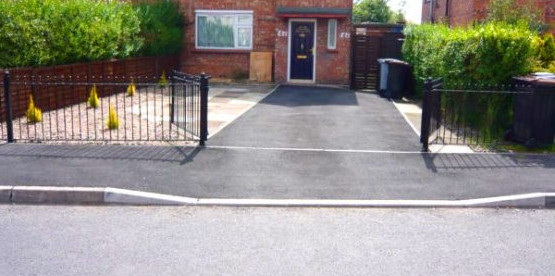
A dropped kerb is the dip in the path and kerb that lets you drive up to your house. The kerb is dropped from the normal height and the path is straightened to take the weight of the vehicle.  

Do I need a dropped kerb?  

If you intend to drive your car over the path into your driveway off a road, then you will need a drop kerb. It is against the law to drive over the path. If you do so, you are breaking the law and enforcement action could be taken to prevent such practice. Furthermore:  

  • Fistly, You may become liable from a collision with a pedestrian  
  • You may become liable for damage to the path  
  • You may face considerable costs as a result of damage to any utility apparatus under the path.  

Can I drop a kerb myself?  

The majority of local authorities will assign a contractor to complete the job, once your permission has been granted. The local council will strongly advise against DIY dropped kerbs. However, the council will allow you to DIY it if you are qualified to do the jobs yourself.  

Do you need planning permission?  

If your road is owned by the council you will need to apply for planning permission. However, if your road is a private road, you will not need to get planning permission. If you don’t get planning permission and you decide to build a dropped kerb, you may be fined up to £1,000.  

The cost of a dropped kerb –  

The average dropped kerb cost is around £600. This price covers the costs of materials and the labour’s work although, it doesn’t cover the costs of the planning permission. The average drop kerb prices for 2 kerbs will typically start at £350 for labour and materials, while the price you can expect for 3 kerbs is £ 525 and £700 for 4. They can take up to 1 – 6 weeks depending on the size, complexity and whether any utility’s need moving.  

Contact us

Advice Center, Planning Permission

How To Get Planning Permission On A Grade 2 Listed Building

Firstly, getting planning permission for a grade 2 listed building isn’t as straightforward as it is for a regular house. And this blog will help advise you on the best way to achieve planning permission.  

What makes a grade 2 listed building?  

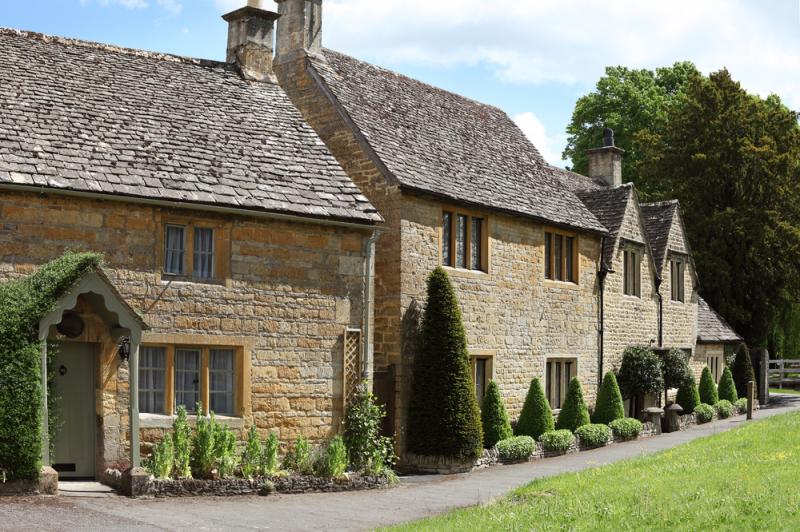
A grade 2 listed building is defined as a building or structure that is of special interest. Warranting every effort to preserve it. In addition, grade 2 is a classification that can be applied to a wide variety of buildings and other structures. In a range of ages, styles, and locations.  

Will I need listed building consent?  

You will need listed building consent if your project requires all works of demolition, alteration, or extension. That affects its character as a building of special architectural or historic interest. Unlike other forms of planning permission, the listed building consent is free of charge.  

Here are a couple of tips to getting planning approved –  

  • Research the area. If you discover another developed listed building in your area there is a higher chance that your planning permission might get approved. If you find any, I would advise checking the council planning portal and see what architect worked on the project.  
  • Choose your architect wisely – architects play a major role when it comes designing your project and getting the planning permission.  and choosing an architect with a good knowledge and understanding of listed buildings is really important.  
  • In your plans, you should plan to use the same materials and design elements that were used originally to construct the existing building. This way the new design will not stand out. Then there’s a higher chance of getting planning approved.  

If you carry out work without listed building consent it is a criminal offense. So, it is important that you follow the rules and go through all of the correct applications.  

How long does it take to get planning permission on a grade 2 listed building?  

Local authorities say they aim to return a decision within 8 – 13 weeks. However, they may ask for an extension on the permission if they are busy. 

What are the Differences Between Grade I and II Listed Buildings? -  Concrete Renovations

Contact us

Extensions, House Extension

The Ultimate Beginners Guide To Ground Floor Flat Extensions

Improving your home is becoming very popular among homeowners who are looking for more space. This is because with property prices increasing, it is becoming more expensive to move houses. If you own a ground floor flat it can be greatly improved by a bit of construction work.  

Ownership of the flat –  

Firstly, if you are a leaseholder and want to commence works on the property, you must get freeholder consent before you can carry out any internal or proposed building extensions.  

The lease plans will tell you whether the demised premises space is occupied under a lease contract. This includes the garden that comes with the flat, or whether you simply have permission to use it. Some leases don’t allow any construction to take place in the garden, so make sure you check.  

Do you need planning permission?  

Before going into the planning process, it’s a good idea to know what you are trying to gain from the proposed space.   

When adding an extension onto a ground floor flat, planning permission is a must. However, with the right architects by your side, this doesn’t have to be stressful. 

To add an extension to your flat you must apply for planning permission. If your flat is a listed building it is likely that you will need listed building consent. You should contact your local planning authority for advice before you start work. 

Adding work to a listed building that affects the historical character without consent is a criminal offense. 

However, if you are using an architect, they will be the best people to guide and advise you through the planning process.  

Planning your design for the flat extension –  

Once your planning is approved it is a good idea to plan and understand exactly what you require to do with the new space. Do you want to extend the kitchen? Open up the living room? Or create another bedroom?  

It is also important to play around with the space and work out the best layout for the extension. A popular element many homeowners like to include is natural daylight. So, to increase the property value and aesthetic of the home you should think about including skylights and bi-folding doors.  

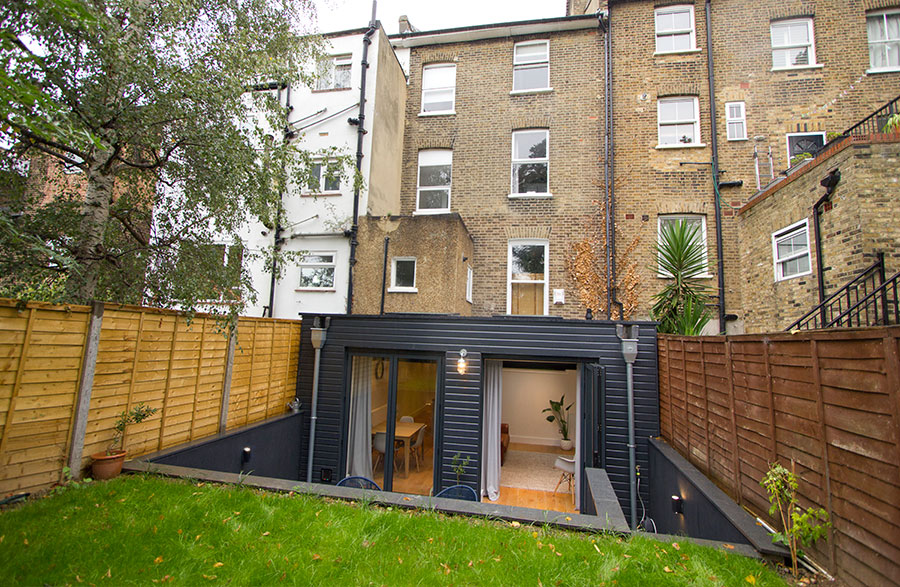
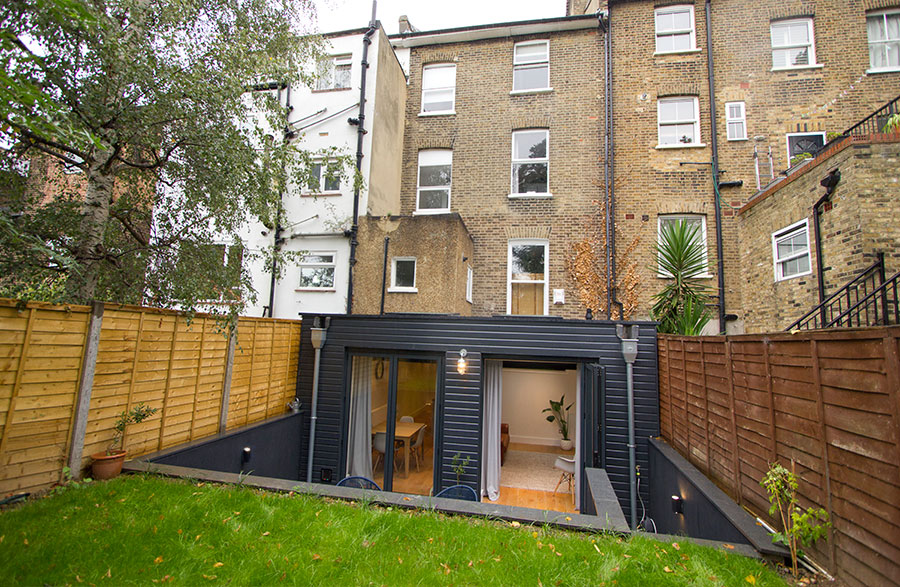
Lewisham basement flat extension - JNJ Building Solutions

Contact us

Architecture & Building

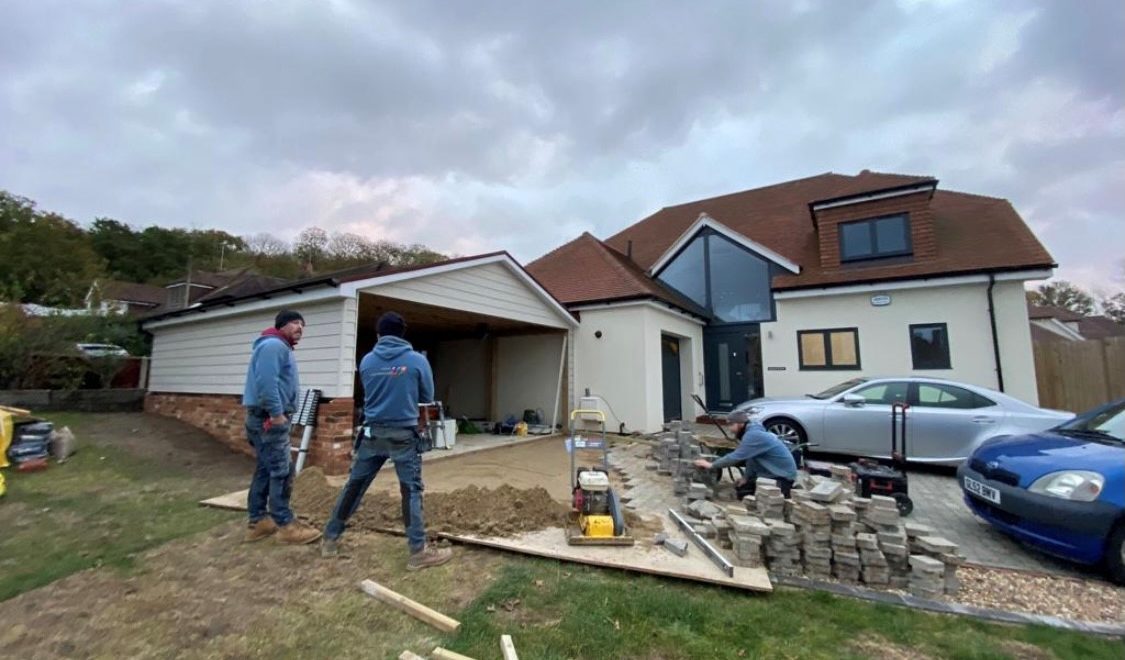
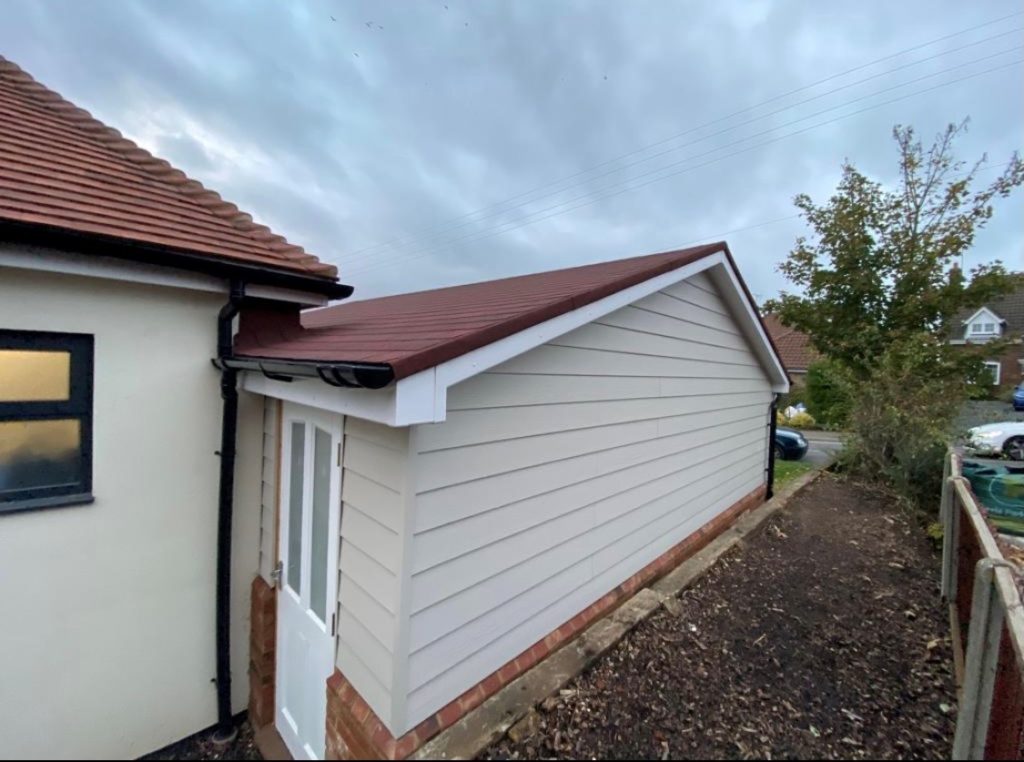
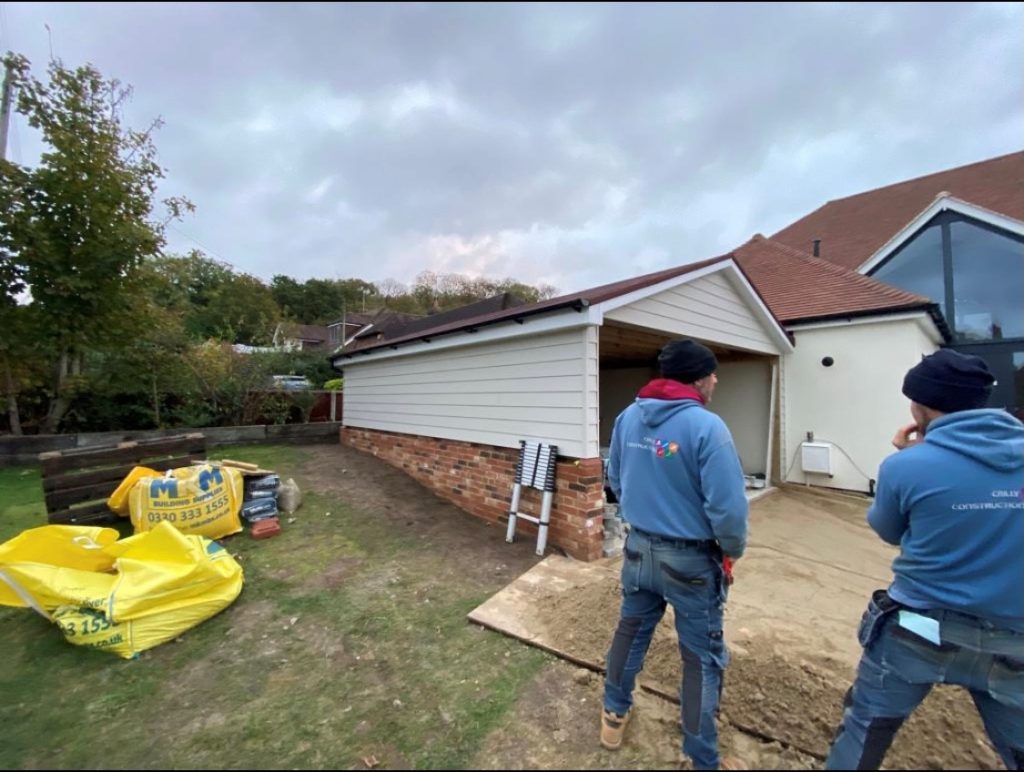
Find Out The Journey Of Building A Carport

Building a carport is a great way of providing protection for your vehicle, whilst increasing the value and appeal to your home. 

Here are the steps to build an enclosed carport.  

Step 1: Preparation to start the carport –  

The first thing you should do is check with your local planning authority to make sure your proposed project is up to code. Once you have been approved by the planning authority you can then prepare the carport to be enclosed. 

 You should start by clearing the area that the carport will be placed. Then you will need to pour a concrete slab to support the new room. However, before you pour the slab you need to make sure that you have measured how much space is required. For an average car, you need to measure at least 4.9 metres. It is best to make a wooden box to create a template for the concrete to set in once it’s poured. Try to ensure that the concrete slab is level with the rest of your house.  

Step 2: Purchase the necessary building materials –  

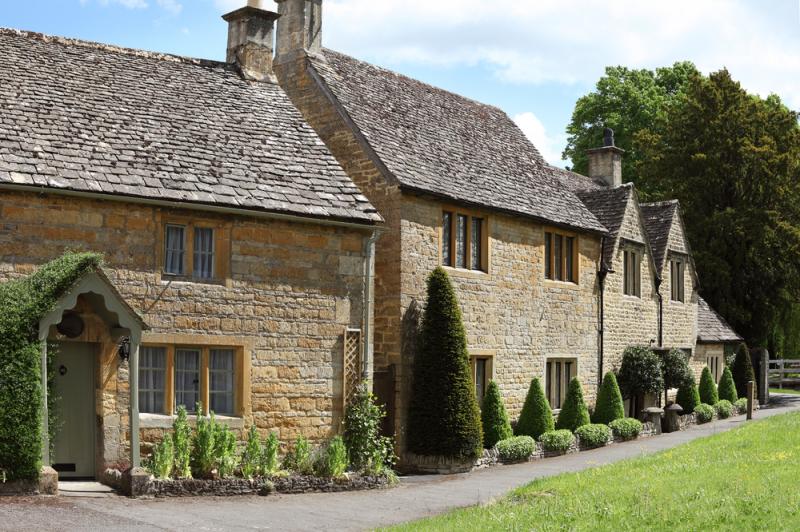
You can build carports from wood, metal, and sometimes brick, depending on the style you want and if you want it to match the materials on your home.  

When choosing the materials, you should keep in mind the climate of where you live. Different materials and designs may be more or less appropriate for where in the world you live. For example, lumber may be more appropriate for drier climates. They are also known to be more secure and durable. 

Step 3: start building the walls –  

Now you need to measure the size of the carport and start building the frames for the walls. To secure the walls to the carport you’ll build a simple rectangular box. If you are not creating an enclosed carport then you would move on to the roof. Whereas, if your project is an enclosed carport you will need to add stud walls. You will also need to frame openings for any windows or doors you want to include.  

Then you should secure the frames and the walls to the concrete floors by bolting them down.  

Step 4: building the roof –  

The next step is to fasten the rafters to the side beams. Rafters that will support the roof will be fastened to the wooden box. You should then fasten plywood roof boards to the rafters  

Step 5: Check the stability of the structure –  

When the roofing of your carport is complete, you should take the time to check the stability of the structure. If everything is done properly the carport should be quite solid. If there is any movement when you are checking the stability, you will have to add structure braces as reinforcement.  

Step 6: Finishing touches to the carport-  

For the finishing touches of your carport, you need to caulk the plywood roof seams. This is to keep the elements out, it is important to cover the roof with tar paper to create a waterproof surface, before shingling over it. Then you should fasten the shingles on top of the plywood roof. After that, you can then stain or paint the wood elements, increasing the longevity in the process. Once you have finished all the touches your carport is ready to go.  

Contact us

Advice Center

Interior Design Vs An Interior Architect: Understanding The Differences

interior architecture is often confused with architecture, interior design, and interior decoration. For a considerable amount of time, the debate as to the difference between the terms ‘Interior Designer’ and ‘Architect’ has continued to gather momentum. So, find out what the differences between an interior designer and an interior architect are.

What is the difference between an interior architect and an interior designer?

An interior designer focuses on the actual furnishings and decoration of the interior. Whereas, an interior architect designs building interiors and space planning.

What does an interior architect do?

The role of an interior architect is that they “blend art and science together”. They must take into account the functionality, safety, and appearance of the building. This takes a lot of skill and careful consideration throughout the design process.

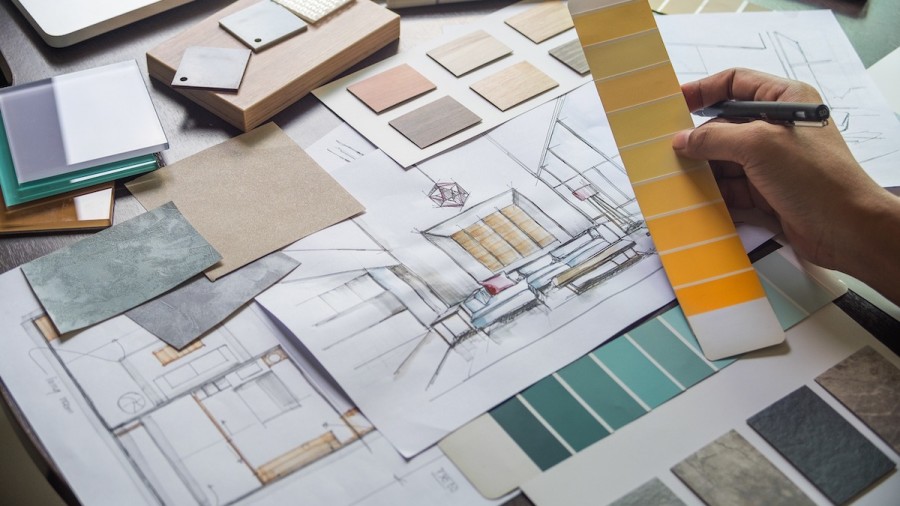
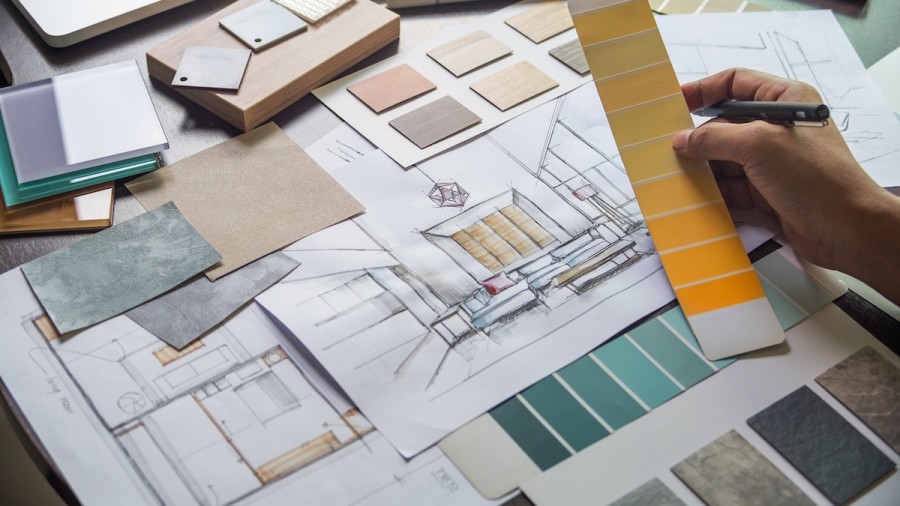
Architectural Drawing 2 Result | Interior architecture design, Interior  design sketches, Interior design renderings
interior design drawing

What does an interior designer do?

Generally, interior designers will work with you to design your space to suit your style, budget, and brief. Sometimes the designer will also purchase and install the furniture for you.

What are the differences between the two? There are many similarities between the roles of interior architect and interior designer. However, there are also some differences between the two jobs:

  • You need a license to become an architect. – One of the or differences is that all architects must have a license to call themselves architects and to practice architecture.
  • Interior design is more about aesthetic. – This profession focuses on space planning, creating cohesive and aesthetically pleasing designs for home interior and businesses.
  • Interior architects and structural renovations. – The interior architects will design the structure and get involved on a more technical level. They also work with builders, contractors, and technicians.

Work environment –

Interior architects usually divide their time between working in offices and working on construction sites. When in the office, they meet with clients to discuss projects, use computers to make plans, and develop budgets and timelines for projects.

They may also meet with other architects, engineers, interior designers, and construction managers to create more complex projects.

Interior designers also divide their time between working in offices and traveling for work. Then they are in the office, they usually meet with clients, research materials and décor options, and use software to create designs.

When they travel, they may meet with vendors to look for or retrieve materials, or they might go to client sites, where they carry out their design plans.

Interior Design Basics: 5 Interior Design Tips for Beginners - 2021 -  MasterClass

Contact us

Advice Center

How Long Does Planning Permission Last? Everything You Need To Know

When does planning permission expire?  

Normally, planning permission is valid for 3 years from the time the local authority grants it. This means you have 3 years to start construction work on the site. 

History –

Before 1968, there was no limit on the duration of permissions. Between 1968 and 2009, the duration of the permission was set out in the conditions. It was often limited to 5 years within which the construction had to begin. Although it was sometimes possible to extend this.

How can you stop it expiring? 

In order to stop planning expiring on-site, you can submit a planning renewal application. You can re-submit the original planning application, at one-quarter of the original fee price. Just like the original planning application, the renewal will last 3 years.  

How Long Does Planning Permission Last? [2021 Update] | Urbanist  Architecture - London Architects

Types of planning permission –  

There are two types of planning permission: outline planning and full planning permission. It is advisable to check with your local authority to determine what type of permission is required for your development.  

Outline planning permission –  

Outline permission is used for bigger projects. You’re basically asking the local authority to agree to the overall idea of the scheme. And then you put in a separate application covering the details: 

  • Outline application with all matters reserved 
  • Outline application with some matters reserved  

Full planning permission –  

Full permission is normally required for change of use developments in conservation areas. And for developments that affect listed buildings. It also applies to industrial and commercial developments. 

What if the building takes longer than you planned?  

You only need to start building within the 3-year limit, you don’t need to finish the project within that timeframe. You must have made some kind of visible first step, to count as started.  

However, there is a criterion you must follow to show the first steps of the project. You must start your build in the right place and you must show you have completed more than the bare minimum.  

Planning Consultants Leigh - MPD Built Environment Consultants

Contact us

Advice Center

Architectural Service Prices UK: How Much Do They Charge?

Architects’ prices can vary, not only in their level but also in the methods of their calculations. There are different methods for calculating the prices. This includes the percentage of construction, a fixed fee, and hourly rates.  

When you decide that you would like to use architectural services, the first question you have in mind is how much does it cost to hire an architect? 

Prices back in the day  

Up until the 1980s, the Royal Institute of British Architects (RIBA) published a mandatory and recommended fee scale on the prices they could expect architects to charge. However, due to the increase in competition the fee scales were abolished.  

How much do architects charge? 

This isn’t a simple question because there are so many different ways, they can charge you. And it also depends on your project and the features you want to include. Although here is an overview of the different methods:  

  • A percentage of the project – this can range from 1.5% to 20%. Usually, the bigger the project, the lower the percentage.  
  • Fixed fees – the architects can quote you a lump sum depending on how much work they will have to put into your project.  
  • Hourly rates – will get charged by the hour.   

Architect’s fees for residential projects will normally vary between 10%-14% of construction cost.  

How much does it cost for the drawings?  

Architects make design decisions that will add value to the site, they will then draw the floor plans, elevations, and visualisations. You will need these for planning applications, building control approval, and for the builders to use for construction.  

Prices typically range from £1400 – £6000 with an average of £3700. Although the prices will differ depending on the size and complexity of the project.  

Your architect will play an important role in:  

  • Discussing your project in detail with you  
  • Providing advice, guidance, and assistance  
  • Preparing and submitting your planning/ building regs application  
  • Hel you manage design and building mistakes (if any) 

A good architect will save you money in the long run, through careful planning that avoids costly changes and a U-turn on site. They would be looking out for your money at every stage.  

What to expect from an architect’s price proposal –  

Although each project is different, the proposal should include the same key information: 

  • A description of the project and brief 
  • A schedule or description of services to be provided 
  • The fee chargeable, broken down against work stages of the project 
  • Additional chargeable expenses  
  • An outline of project timescale  

If your proposal doesn’t include any of the information above, ask your architect for further clarification.  

What's the Average Building Cost Per Sq M in 2021? | Checkatrade

Contact us