Tag: design

Design and Inspiration, Interior Design

Interior Designs You Wont Want To Miss Out On.

Here are interior design looks of 2022 you should see and won’t want to miss out on!

Interior Design Ideas

1. 3D Art

Are you wanting to add something intriguing and eye catching? Any art that pops off the wall can be viewed in a variety of different ways.

2. Multifunctional Rooms
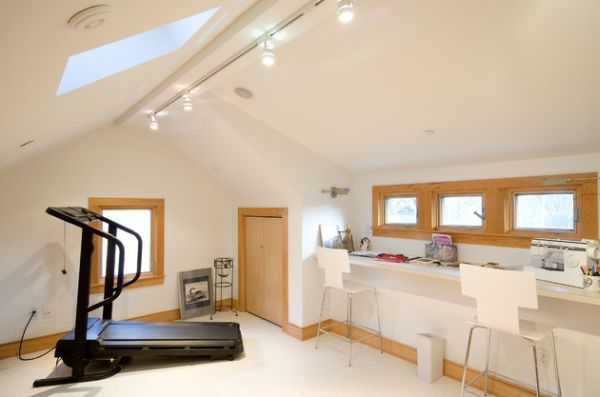
Live with less! After Covid-19 people have had to be more imaginative and make use of the rooms they already have. Instead of building an extension why not have a multifunctional room? A multifunctional room is a room with two or more uses. For example, having an home office and a mini personal gym in the same room.

A multifunctional room is a room with two or more uses. For example, having an home office and a mini personal gym in the same room.

3. Statement Lighting
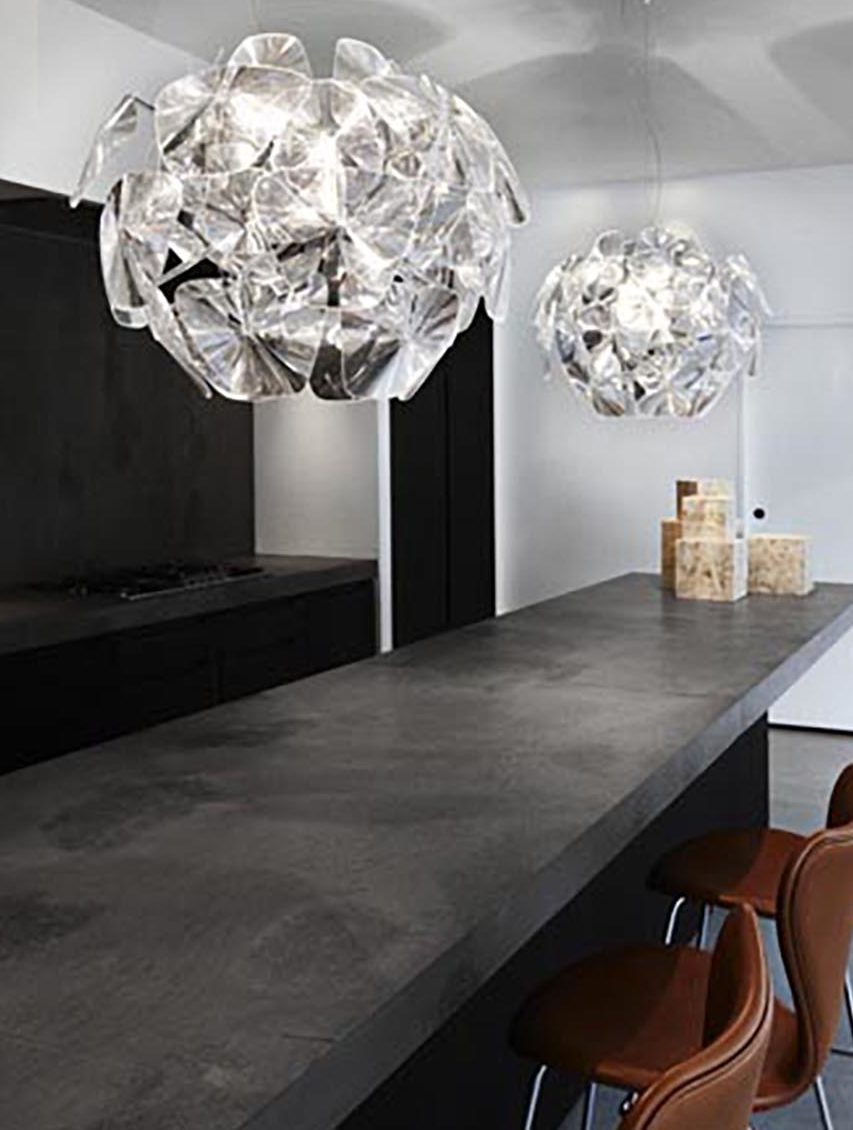
Many are on the hunt for decorative and statement lighting. everyone loves a bright bold room. There are many types of lighting ideas such as sculptural or decorative lighting, vintage lighting and colourful lighting. Take all of these into consideration.

4. Copper elements interior design

Copper elements are going to be a big thing! we’ll see copper start to take over from the very popular brushed brass bringing a fresh new finish and striking aesthetic.

Curved furniture is a big thing right now! Curves are both feminine and forgiving which makes someone instantly more comforting. This interior design is going to become really popular in 2022.

5. Curved furniture
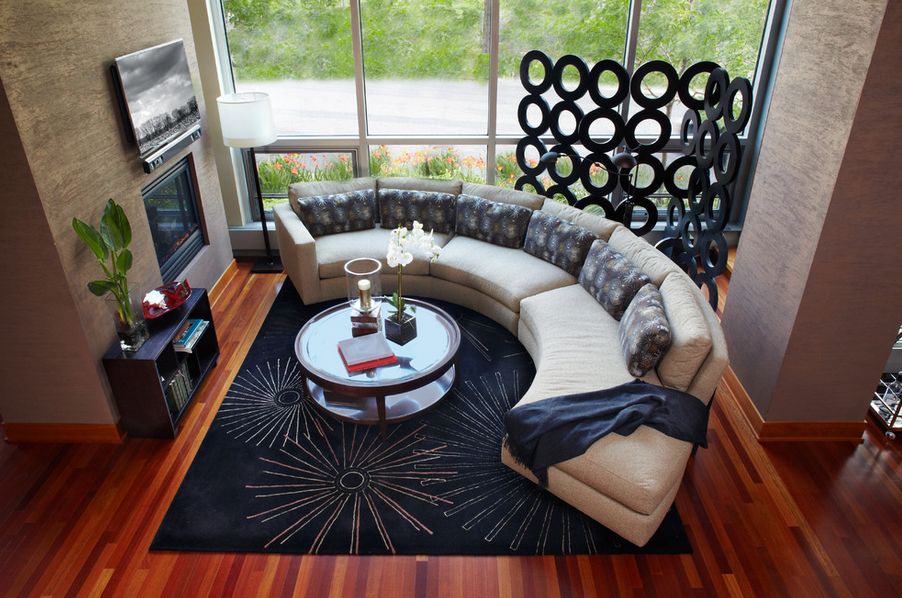
Curved furniture is a big thing right now! Curves are both feminine and forgiving which makes someone instantly more comforting. This interior design is going to become really popular in 2022.

Contact us

Curved furniture is a big thing right now! Curves are both feminine and forgiving which makes someone instantly more comforting. This interior design is going to become really popular in 2022.

Extensions

Extension Rules You Should Know Of 2022

Here are single-storey and two-storey extension rules explained with planning permission and permitted development rights explained. 

Single-Storey Extension Rules 

  • The extension cannot exceed more than 4 meters in height. 
  • You cannot go beyond the back wall of the original property by more than 4 meters. 
  • You can only cover half the area of land around the original house with an extension. 
  • The extension cannot go forward of the side elevation fronting a highway. So, this means that if you want to build your extension toward the main road you will need planning permission. 

Two-Storey Extension Rules  

  • The extension needs to be a minimum of 7 meters away from the rear boundaries. 
  • If your home is more than one-storey and you decide to extend, you cannot go past the back wall of the house by 3 meters. 
  • The exterior of the extension must be similar looking to the materials of the property. 
  • The ridge and eaves height cannot be taller than the existing house. 
  • The maximum height of the extensions eaves needs to be 3 meters if you are within two meters of the boundary. 

Permitted Development  

Permitted development rights is an automatic grant of planning permission which allow certain building works and changes of use to be carried out without having to make a planning application. This only applies to houses. Whereas, this does not apply to flats, maisonettes or any other type of building. So, always check with your local authority to see if the permitted development rights apply. Permitted development rights are restricted when you live in a  

  • Conservation area 
  • A national park 
  • An area or natural beauty 
  • A world heritage site  

Planning Permission  

Planning permission refers to the approval given by your local authority when you’re wanting to do building works. If you don’t know if what your wanting needs planning permission you should contact your local authority to see if you require permission. You will not need planning permission if you want to build a 

  • Standard loft conversion  
  • Single-storey extension  
  • Replace doors and windows  
  • Install solar panels  
  • Install garden room

However, under certain circumstances these will need planning permission.

Contact us

Materials

What you should know about Glue laminated timber (glulam)

What is glue-laminated timber? 

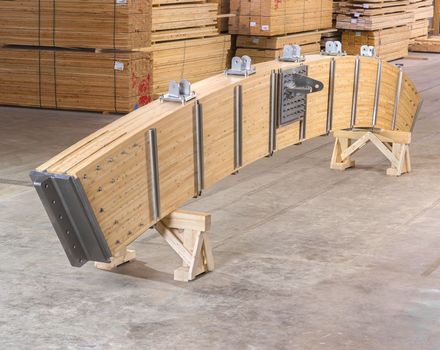
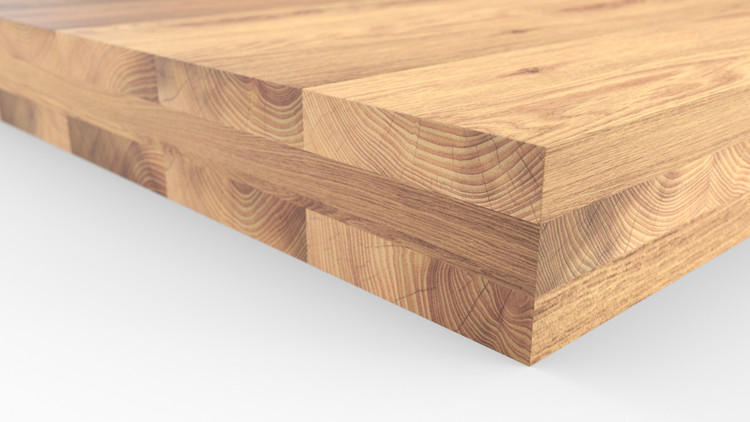
Glue laminated timber also known as glulam is a type of structural engineered wood constituted by layers of dimensional lumber. They are bonded together with durable and moisture-resistant structural adhesives.  

How it’s used –  

Glulam has a reputation for being used in exposed applications such as vaulted ceilings and designs with large open spaces. Glulam is used when you seek a combination of structural and aesthetic attributes. Glue laminated timber can also work behind the scenes, as floor beams, trusses, cantilevers, and other structural elements.  

What is the best glues for laminating wood?  

  • Gorilla wood glue 

This is one of the top picks when it comes to laminating wood.  

Compatible material: Wood 

Colour: Natural wood colour  

Clamp time: 20 to 40 minutes. Clamping means you have to wait a certain amount of time before you can let go of the wood.  

Curing time: 24 hours. However, once the wood is clamped you need to wait a day for the wood to be completely glued together.  

  • Loctite epoxy five minute  

This is the second most popular type of glue. For starters, it’s the only glue that comes in a syringe packet. This is a good thing because it will be easier to apply the glue to any corners that need fixing. This also has the least required setting time.   

Compatible material: Wood, glass, ceramic, plastic, concrete, etc 

Colour: Yellow. Because this glue is yellow it means it will be extra strong, however, it will leave some yellow marks.  

Package information: Syringe 

Setting time: 5 minutes 

When using it on laminating wood make sure that you clean the excess glue after you’re done. Otherwise, it could stain and could ruin the aesthetics.  

  • Gorilla polyurethane glue 

This gorilla glue is quite different compared to the other one. This glue is actually polyurethane-based glue. It offers incredible adhesion properties and this glue is waterproof.  

Compatible material: Wood, foam, glass, ceramic, concrete, metal, stone.  

Colour: Brown 

Setting time: 1 to 2 hours  

Curing time: 24 hours 

Advantages and disadvantages of glulam 

Advantages –  

  • Availability  

This type of timber is easily available in different sizes in the market. It is available in sizes 45mm x 45 mm to 250mm x 1800mm x 30m. Glulam is made by joining many blocks of wood, which means it is easily available in large to small sizes.  

  • Easy to use  

Glulam timber is easier to use than steel and concrete. This is because it doesn’t require much material and it makes the house feel warm and comfortable.  

  • Durability  

This timber is 2 to 3 times more durable than steel and concrete. To increase the durability of your wooden project, it is important to choose the right wood species. You should choose the wood species according to your project. 

  • Anti-bugs  

Usual wood over time is likely to rot and become hollow, due to bugs that eat and live in the wood. This is likely to cause the structure to become weak. Whereas, glue-laminated timber is completely solid because it’s made by joining several layers together.  

Disadvantages –  

  • Price  

The price of glue-laminated timber is higher than normal timber.   

  • Quality  

Glulam timber is made by joining pieces of timber together. If defective timber is used in the middle of the block during production, this malfunctioning timber can cause the entire timber block to deteriorate.  

Contact us

Building Control

Building Control: Things You Should Know

Below is about building regulations and the things you should know. 

Why do we have Building control?  

The building control service is to ensure the health and safety in a built environment. They cover a lot such as stability of the building, insulation, ventilation, fire protection and fire escape. However, there are other precautions they take as well. Depending on the project you may be spared from some regulations however, you should always follow and comply with the building regulations. Building regulations will apply if you’re wanting to: 

  • Build a completely new property. 
  • Extend or change existing property. 
  • Provide services in a property.  

Building control regulations  

  • A: Structure  
  • B: Fire safety  
  • C: Site preparation and resistance to contaminants and moisture 
  • D: Toxic substances  
  • E: Resistance to the passage of sound 
  • F: Ventilation 
  • G: Sanitation, hot water safety and water efficiency  

Part A: Structure  

Firstly, this regulation requires that the building is structurally safe and stable. Part A stipulates design standards for use on all buildings and gives simple design rules. 

Part B: Fire safety  

This covers all fire measures to keep the people in the building safe. In addition, the requirements cover escape, fire detection and warning systems. There are other requirements that need to be followed under fire safety.  

Part C: Site preparations and resistance to contaminants and moisture. 

Includes weather and water tightness of buildings, subsoil drainage, site preparation and measures to deal with contaminated land and all other site related hazardous and dangerous substances. 

Part D: Toxic substances 

Finally, the control of hazards from toxic chemicals used in insulation.  

What happens if you fail to comply with building regulations? 

If you fail to follow the building control regulations your local authority has the duty to take action. For example, by taking you to magistrate’s court. Your local authority can also make you demolish your work. Usually but not always the builder, installer or main contractor would have action against them. You can be prosecuted for up to two years after the completion of the project. 

Difference between building control and planning  

Building regulations sets safety standards for the construction of buildings. These requirements cover fire safety, health, fuel and power. Whereas, planning is seeking permission to do building works. The planning requirements are to make sure your plans do not affect you, your neighbours or the environment. Both have more requirements that need to be followed. These are separate processes. 

Picture: Getty

Contact us

Extensions

The top Extension designers in canterbury

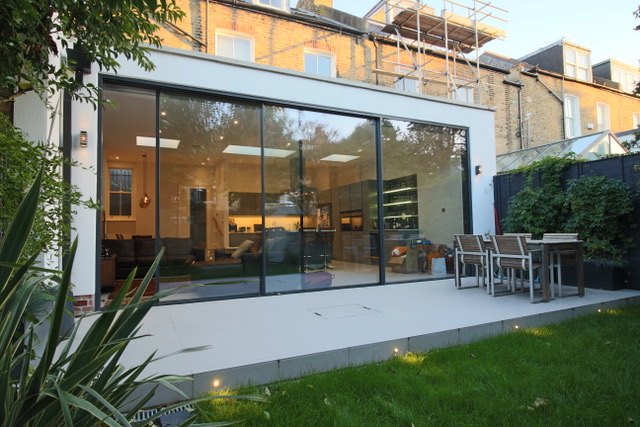
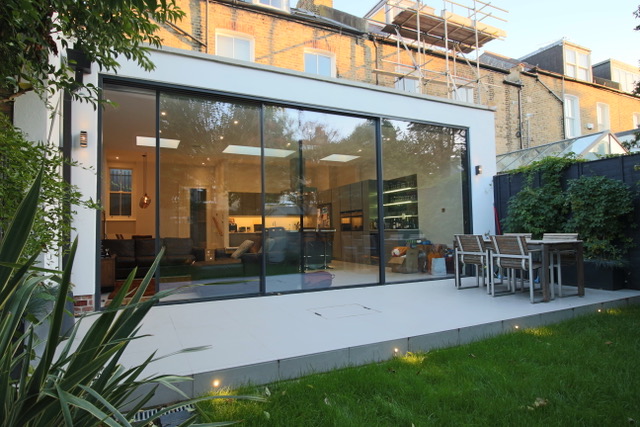
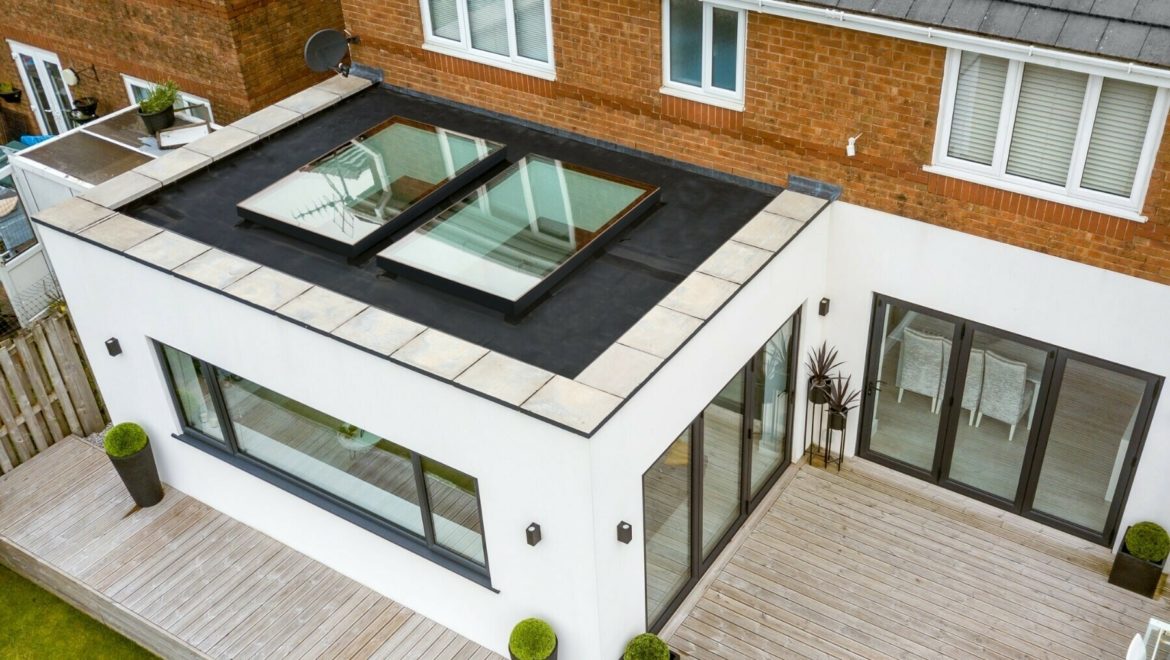
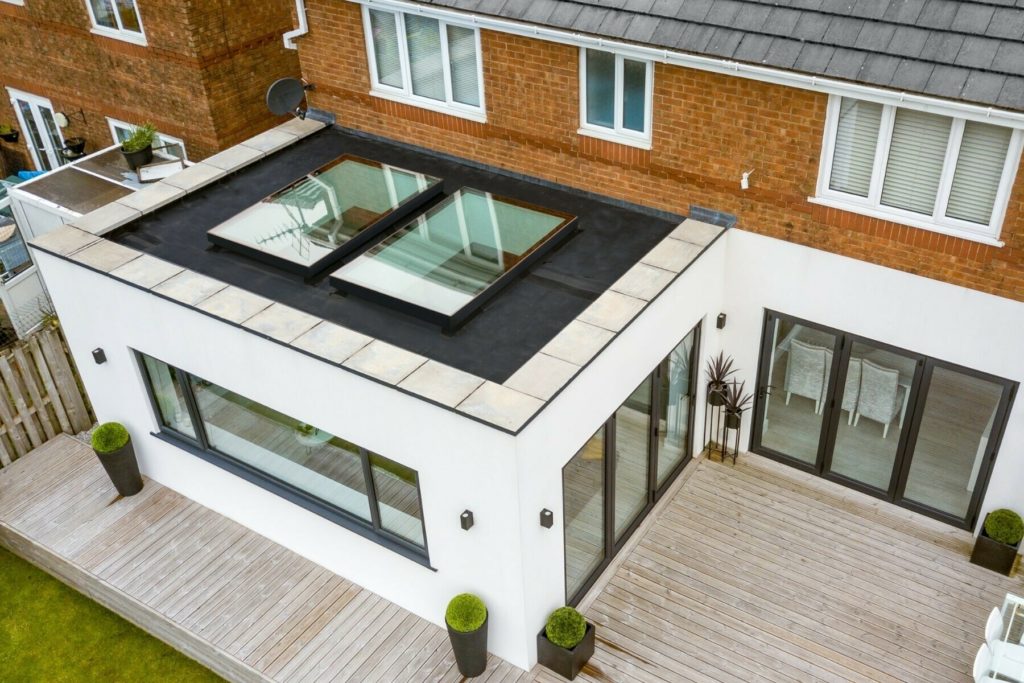
Extending your house is a popular way to increase space and add more value to your property. Whether you’re thinking of a side extension, garage extension, double or single-storey extension, there is so much to consider especially which company you want to design your project.  

Things to consider before you start –  

Permitted development & planning permission  

Some extension projects do not need full planning permission and are referred to as permitted development.  

A detached home can be extended by 8m to the rear if it’s a single storey, and 3m if it’s a double storey. Although, this is reduced to 6m in a semi-detached or terraced house. A single-storey extension shouldn’t be higher than 4m in height, to the ridge and the eaves. In addition, a double-storey extension mustn’t be closer than 7m to the rear boundary. 

Will it add value? 

With any project that improves your home, it’s good to check if the plans would increase the value of your property. if you speak to a good architect or estate agent they may be able to give you an indication of how much your house would increase in value.  

Building regulations  

You will need to comply with building regulations regardless on if you have planning permission. Building regulations have set out minimum requirements for: 

Fire safety  

Energy efficiency  

Damp proofing  

Ventilation  

Structural integrity  

And other aspects that ensure a safe building  

Who is the right designer for your project? 

When it comes to your project it is important that you chose the right person to do your service. There is a number of options you can choose from, such as:  

Architects  

Architectural technicians  

Specialist designers  

Package build companies’ in-house design teams   

You can look online and see what will work best for you and the highest rated in your area. 

Extension designers in Canterbury –  

We are providing all kinds of architectural services in Canterbury. Our team of professionals is highly experienced in handling such projects. Furthermore, we are a Design & Build company, which means you do not need to go elsewhere as you are going to get all the services from planning, drawing to construction under one roof.  

Image: https://www.ultraframe-conservatories.co.uk/news/why-single-storey-extensions-are-best

Architecture & Building, Interior Design

The basic need to knows of removing a load-bearing wall

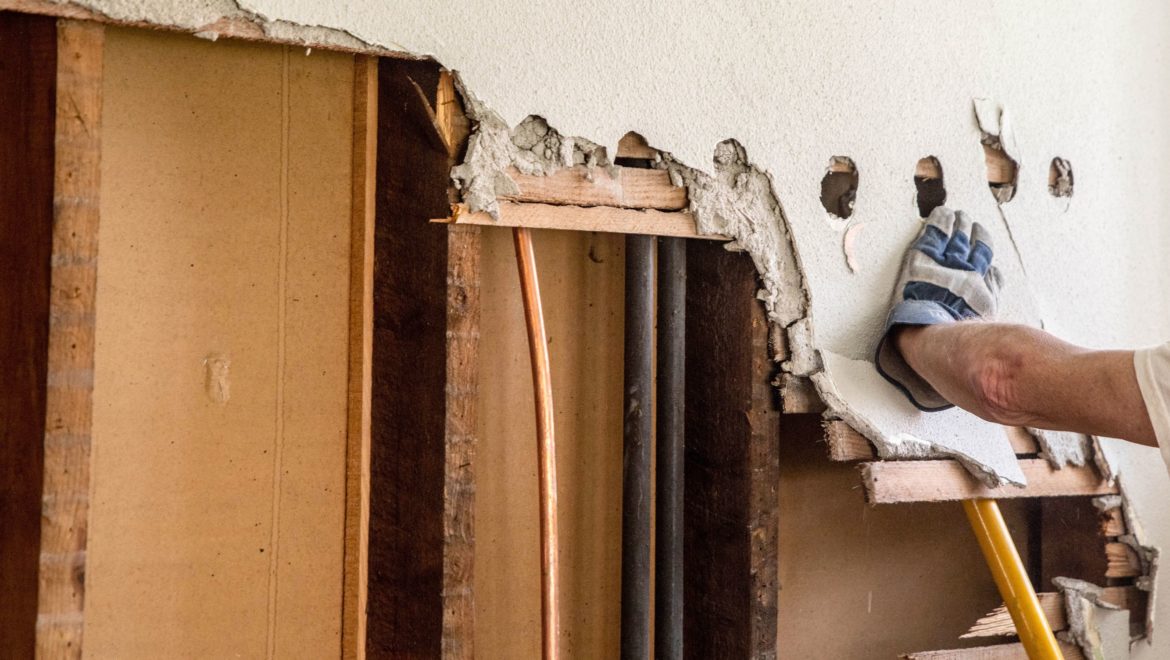
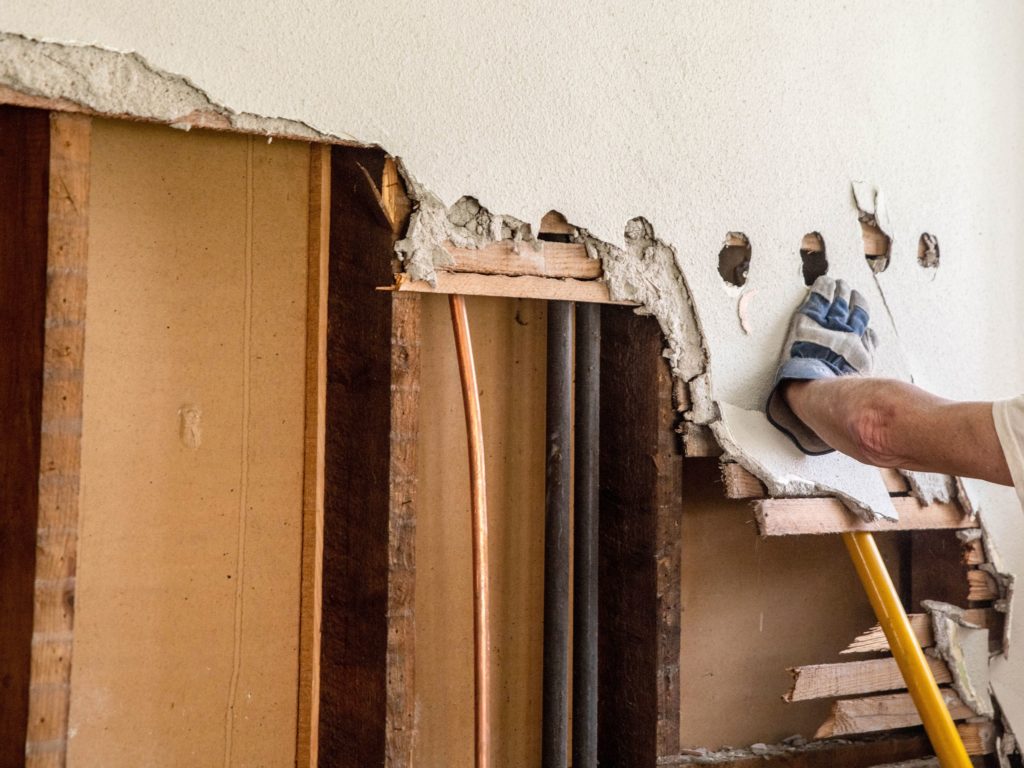
Open plan designs are becoming very popular for homes and homeowners. Although, knocking down a wall can be more complicated than you think. Carry on reading to find out what you need to know about removing a load-bearing wall.  

What is a load-bearing wall?  

A load-bearing wall is a wall that is an active structural element of a building, which holds the weight of the elements above it, by conducting its weight to a foundation structure below it. Whereas, Non-load bearing walls, also called partition walls, don’t support loads from above and are simply there to divide spaces.  

How to check if a wall is a load-bearing?  

The easiest way to check if a wall is load-bearing is by knocking on walls. If the walls have a hollow sound that means it’s not a load-bearing wall. Whereas, if there is a hard thud it could be load-bearing. Although, the best way to check is to have a consultant visit your home and do a thorough check.  

You remove them yourself?  

While the majority of homeowners choose to hire a contractor because this project can be quite difficult, however, permitting authorities will allow you to do the work yourself. DIY homeowners must follow the local building requirements and pass inspections just like a builder would.  

However, it is recommended to hire a structural engineer. This is because they will inspect the house, calculate the size of the beams and posts you will need, and determine whether you’ll need to add supports.  

Do you need planning permission and building regulations?  

Unless your property is a listed building, you won’t need planning permission to remove any interior walls. However, if you’re removing a load-bearing wall, you will need building regulation approval from a qualified inspector.  

Usually, the removal of a load-bearing can be completed with a building notice. Although, the inspector may tell you to hire a structural engineer who can specify an appropriate beam or lintel before they grant approval.  

How much does it cost to remove?  

The most commonly removed walls are those between the kitchen, dining room, and living room. On average, the prices range from £1,250 to £1,750 to remove the wall and £800 – £950 to install structural supports. 

Contact us

Advice Center

The top types of concrete cement you should know about

Concrete is the most popular building material around the world. Concrete is made of cement, water, and coarse aggregates. When mixed together, they create a construction material that hardens over time.

How much water and cement you use determines the properties of concrete, such as:  

  • Strength 
  • Durability 
  • Workability  
  • Resistance to heat or radiation. 

There are several different types of concrete, even though they look very similar. Here are the most common types: 

  • Reinforced concrete –  

This is concrete in which metal bars or wire is embedded to increase its tensile strength.

In addition, it’s used for construction on a large scale. Such as bridges, dams, tall buildings, and stadiums. This concrete has the following properties:

High relative strength

Good bond to the concrete

High toleration of tensile strain

Thermal compatibility

Durable

  • Lightweight concrete  

Lightweight concrete is a mixture made with lightweight coarse aggregates. Such as shale, clay, or slate, which gives it its characteristic low density. This concrete has an in-place density of 90 to 115 lb/ft3. This makes it ideal for building modern structures that require minimal cross-sections in the foundation.   

  • High-strength concrete  

In addition, HSC is a strong, hard-wearing blend of cement and 10mm coarse aggregate. High-strength concrete can resist loads that normal-strength concrete cannot.  

  • Hight-performance concrete  

A concrete mixture that has high workability, high strength, and high density. This has a lot of benefits such as,

Firstly, ease of placement

Long term mechanical properties

Early age strenght

Toughness

Finally, life in severe environments

  • Precast concrete (PC)  

In addition, precast concrete is prepared, cast, and cured off-site. Usually in a controlled factory environment, using reusable moulds.

Concrete - The Mick George Group - Next Day Delivery

House Renovation, Interior Design

6 great ideas on how to renovate your bedroom

From a full renovation to a small redecoration, there are plenty of ways to remodel a bedroom. Bedrooms can be such easy rooms to update. Renovating your bedroom, can change your mood and give the space a whole new vibe. Here are some ideas on how to renovate your bedroom on a budget.  

Paint your bedroom walls –  

Painting is one of the most immediately noticeable bedrooms remodel ideas. You can paint a room in a couple of days and the results last for years. Choosing the right paint colour can be really important in the bedroom because it can affect your mood. Usually, cool light colours make you calm and warm colours energise you.  

paint color for bedroom ideas - Vrogue.co

Updating the floor –  

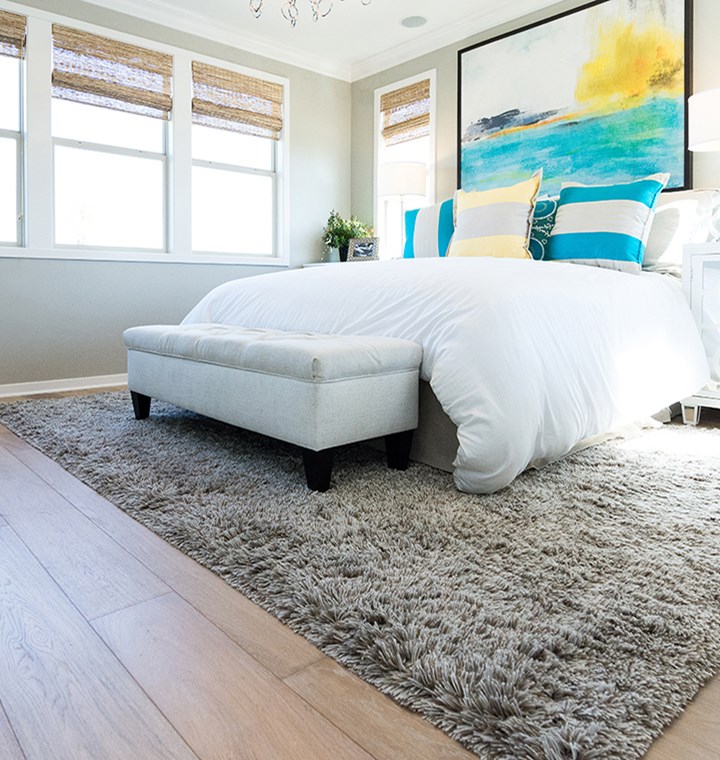
Many people like to install carpets in the bedrooms because they are great insulation. However, wood floors and a soft rug create the idea of luxury. You can get the look of wood floors without spending a huge amount of money by installing vinyl or laminate.  

Flooring Store- Carpet, Hardwood, Luxury Vinyl, Tile, Laminate | Tacoma, WA

A DIY headboard –  

A DIY headboard might sound complex, however, there are ways in which it could become a simple task. It can be as simple as getting a large piece of wood and painting it or hanging a section of wallpaper or a rug above your bed. You can make your bed the statement of the room, without spending a huge amount on a headboard.  

23 DIY Headboard Ideas for More Attractive Bedroom

Adding some shelfs –  

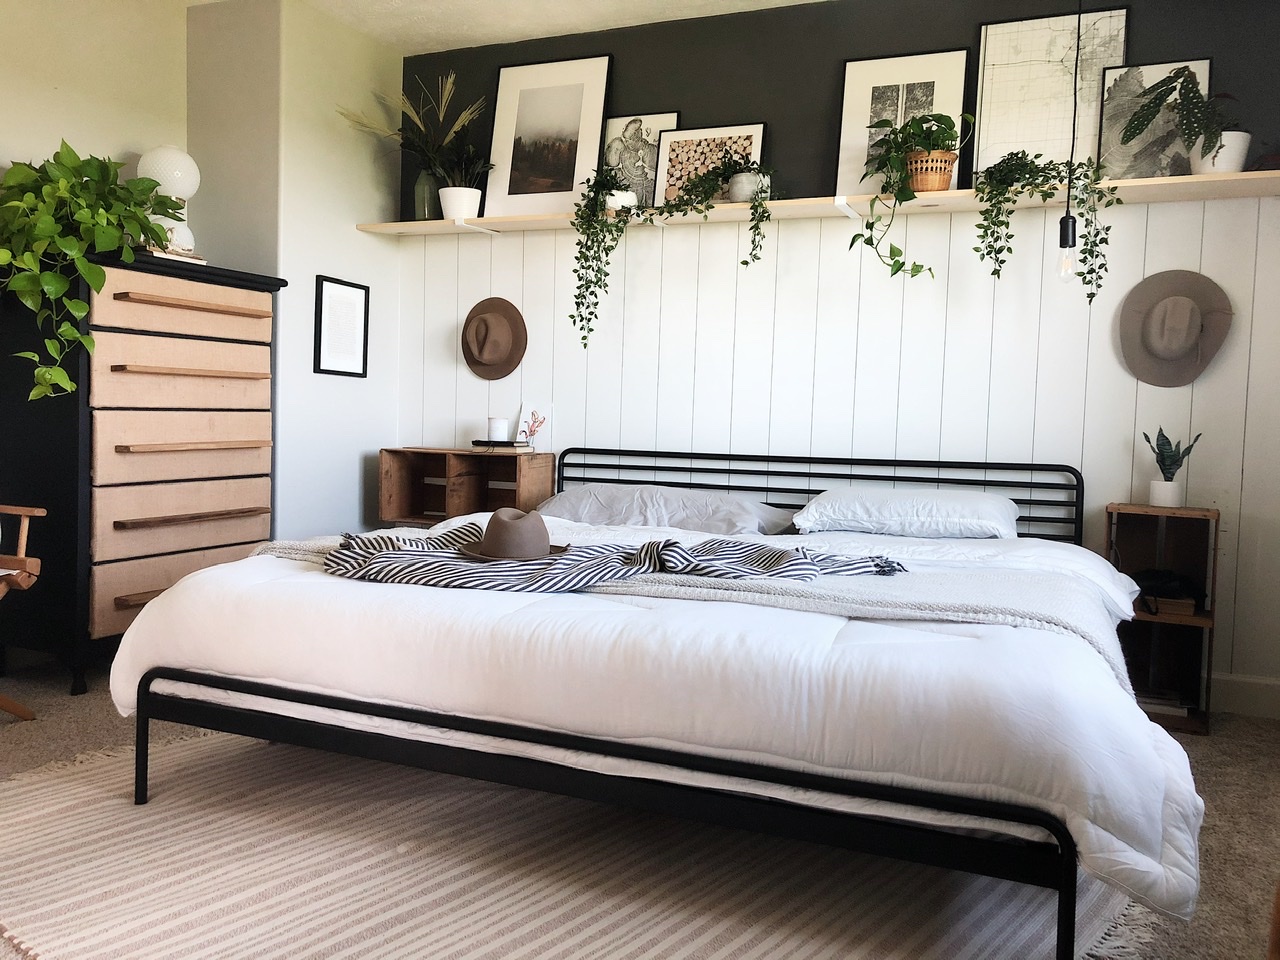
You can easily find wall shelves for under £10. Not only do they provide storage, but they are also perfect to hold décor. Adding a shelf above your bed can be a great focal point in the room.  

Open Shelving 101: a guide to DIY shelving - Calling All Creators

Statement bedroom light fixture –  

Most bedrooms come with a simple light or light shade that doesn’t add much to the room. So, replacing it with a statement piece is a quick and easy bedroom renovation idea.  

Adding a seating area –  

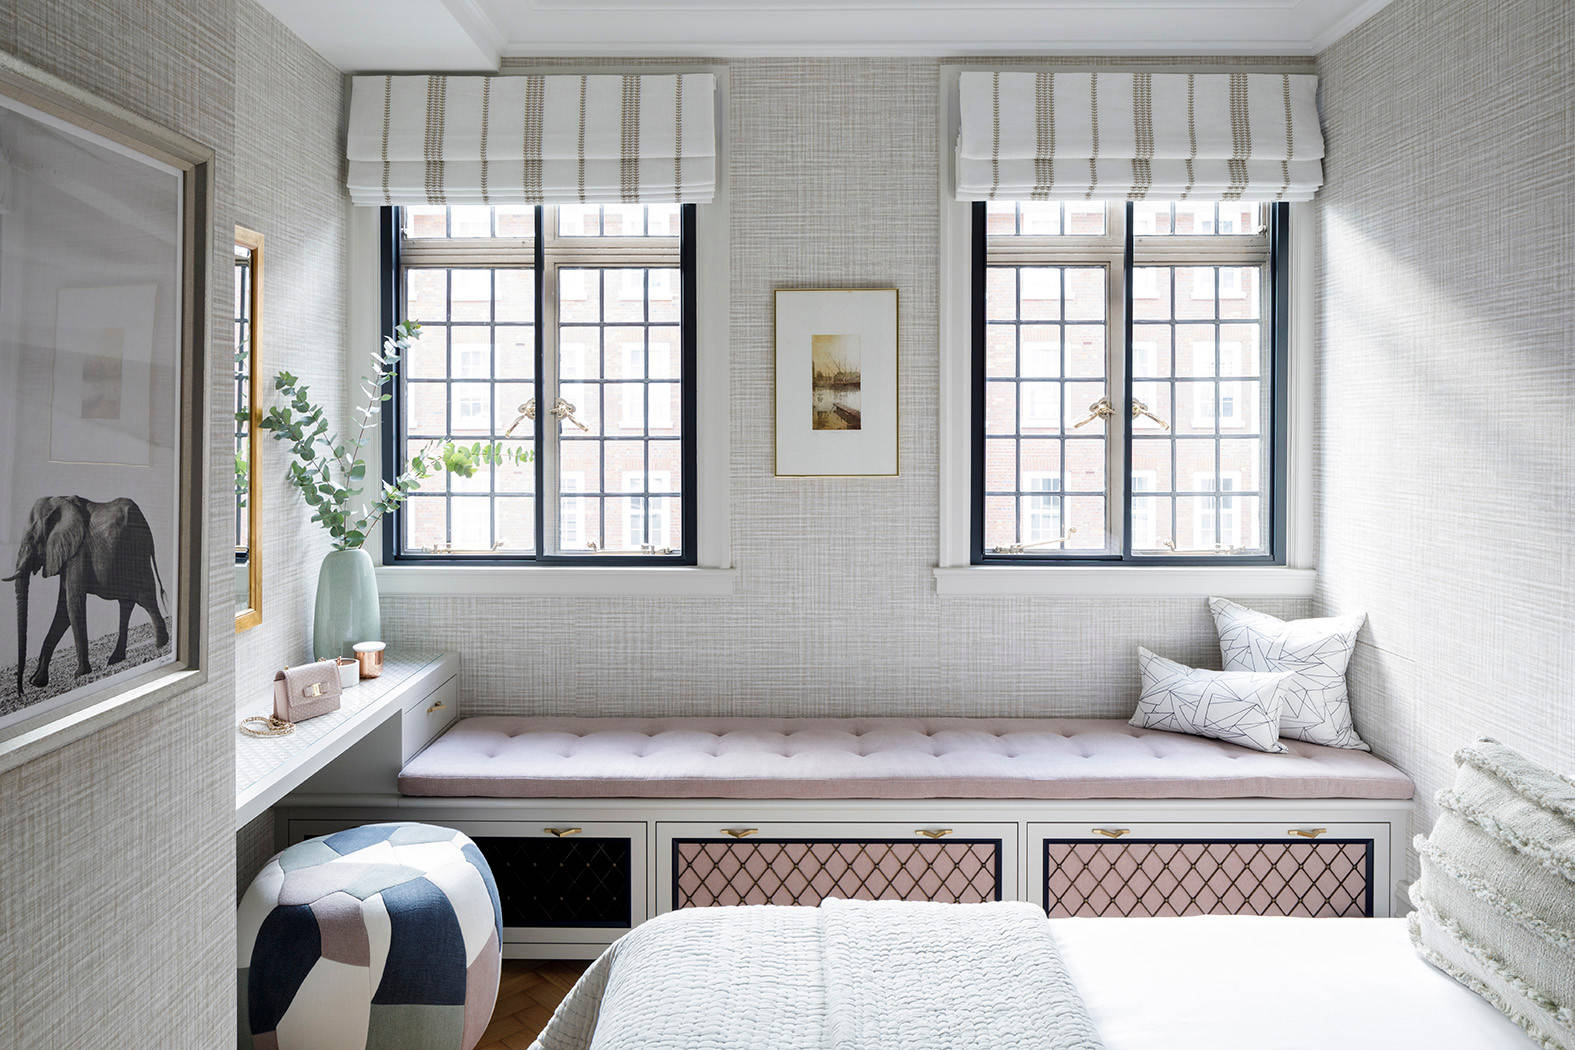
One major piece of advice for better sleep is designating the bed as a sleep-only space. So, if you have the room adding a seating area such as a window seat or small armchairs will be beneficial.  

Bedroom Window Seat Ideas | Houzz UK

Advice Center, Architecture & Building

The difference between an architect and an architectural technologist

Here at Pro Arkitects we have in-house design technologists that work on all of our amazing designs and projects. In this blog, it will explain the differences between an architect and an architectural technologist.  

Architect – 

What does the title architect mean?  

Firstly, an architect is a qualified professional obliged to conduct their services under the rules of a code of conduct. The title architect is protected by the architect’s registration board (ARB). 

How to become an architect?  

To call yourself an architect you must pass the standards set by the ARB, by completing parts 1,2, & 3 of the educational programs. Typically, depending on the curriculum and length of the program you choose to enroll in, the school can take anywhere from 5 to 7 years. During this time, the students will be following a combination of theoretical and practical training. Some architects also subscribe each year to be a member of the Royal Institute of British Architects (RIBA).  

In addition, architects can offer you full services. Including the detailed construction drawings and specifications. As well as, the construction phase with particular skills in administrating construction contracts.  

Architectural technologists – 

What does the title architectural technologist mean? 

The architectural technologist provides technical building design services. Technologists also have a professional title which is, Charted Institute of Architectural Technologists (CIAT). CIAT has a similar code of conduct for its members as the ARB. Most technologists have studied a three-year degree approved by CIAT.  

Becoming architectural technologist –  

A technologist is trained less intensively compared to an architect. They will most likely have a degree at best. However, this doesn’t mean that the technologist can’t design buildings.

What do the technologists do?  

The architectural technologists do the following:  

  • Firstly, create drawings and models  
  • Make sure the designs meet building regulations 
  • Prepare contracts and documents 
  • Also prepare cost estimates and instructions for builders 
  • They also work in a similar role to civil engineers.  

Contact us

Advice Center

An informative step-by-step guide to installing a roof

This step-by-step guide will show you how to install a roof. It will also list tools and items that you would need during this project.  

List of tools required –  

  • Caulk gun 
  • Air compressor 
  • Circular saw 
  • Roof harness  
  • Roofing Nailer 
  • Scaffolding  
  • Stapler  
  • Utility knife  
  • Cordless drill 
  • Tape measure  
  • Chalk line 

List of materials required –  

  • Felt underlay  
  • Asphalt shingles  
  • Roofing nails  
  • Drip edge  
  • Hook blades  
  • Sealant 
  • Waterproof underlay  
  • Staples  
  • Step and dormer flashing  
  • Valley flashing  
  • Vent flashing  

Step 1: installing the ventilation system  

A rafter roll is usually laid across the eaves and is designed to guide fresh air into the roof. It also allows air to circulate around the space to prevent dampness.   

What is a rafter roll? 

A rafter roll is a glass mineral wool roll. Designed for use in warm roofs where the roof is insulated at rafter level. It offers excellent thermal performance.  

Make sure the rafter roll comes out above any pre-installed insulation. If you don’t the insulation will block the airflow.  

Step 2: installing underlay  

To protect the roof against ice, wind, and rain you should install a good underlay. You need to make sure the underlay you have chosen meets the building regulation requirements for your project. So, to install the underlay you should start on the right side of the roof and tack it into place. Depending on your ventilation system, you may need to leave a gap at the ridge of the roof to allow air to circulate effectively.  

Step 3: putting in the battens and tiles  

You will need to determine the first fix point on the roof for your tiles, and that’s where the top of your first batten will sit. In addition, make sure you use the right size timber batten for your roof tiles. Line up the top of the batten with the chalk line and fix with a nail to every rafter. After that, to keep the ridge batten secure you must use batten straps to keep it in place.  

What is a batten?  

A Batten is a small section of timber or steel that provides a means of supporting, positioning, or fixing roof cladding and ceiling sheets. A Tile batten is parallel to the eaves line and at right angles to the rafters to which tiles are fixed

Next, you should lay your first line of tiles across the roof. Then, make sure that you have a minimum of one nail per tile and two nails per tile around the perimeters. You should time from right to left, depending on the interlock of the tile.  

Finally step 4: adding the roof ridge 

You should place your ridge membrane in a straight line across the ridge batten. Once it’s secured all along the ridge, it’s time to screw the ridge tiles to the ridge batten. Finally, when that is completed, you can install a ridge-to-ridge seal to offer extra strength to the ridge.  

Contact us