Tag: building

Extensions

Everything To Know About Extending Buildings Upwards

New permitted development rights that will cover a range of building types that allows them to go upwards and deliver new homes. 

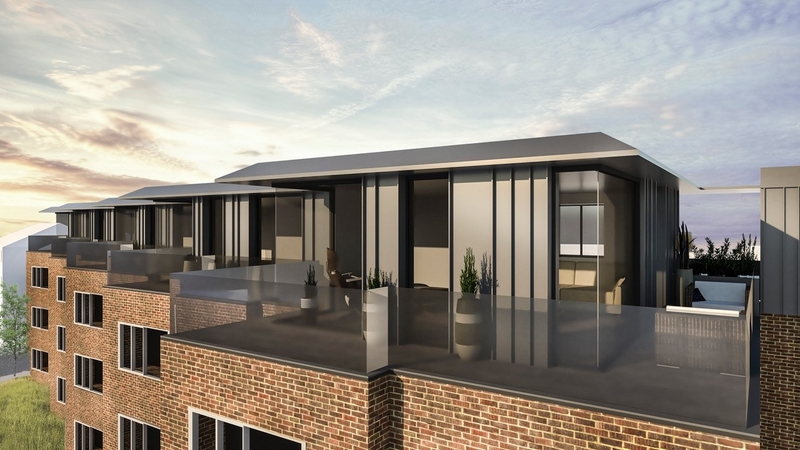
At last, homeowners, developers, and landlords can build upward extensions and add two storeys for housing to their buildings without needing planning permission. This is generally referred to as upwards extension permitted development rights.  

The logic to this type of extension is that there is a severe housing shortage. And the government doesn’t want concrete over green space. So, if you can’t build out, you should build up.  

Can I extend my house upwards?  

If the existing house is two or more storeys high, you can extend your house upwards and add two storeys under new permitted development rights. If the building is only a single storey currently, you can add one more storey under permitted development.  

You can’t add new storeys using the new permitted development rights if the house has had any new storeys added to it since it was built.  

Planning permission –  

Houses built before 1948 cannot be extended upwards without planning permission. However, the easier route to building isn’t open to you. 

 Your property also will not qualify if it’s in a conservation area, an area of outstanding natural beauty or a national park. You also can’t use permitted development on a listed building, so you will need to get planning permission if you fall under any of these categories.   

A short summary –   

  • Firstly, If you live in a terrace, you can only go 3.5 meters above the rest of the terrace. 
  • If you live in a semi-detached house that’s two or more storeys high, you can add two storeys 
  • If you live in a bungalow, you can only add one storey, and for all houses, the roof type must match what you have right now.  

Cost of an upward extension –  

There are a lot of factors that will affect the cost. However, you should be budgeting around £50,000 – £70,000 to build a one-storey extension. Whereas, if you’re building a double-storey the price would be around £80,000 – £100,000.  

Not only does an extension add space to your home, but it also increases the value of the property. Research has shown that an extension can add up to 23% to the value of your property.   

Upwards Extension in Islington - HPD

Contact us

Architecture & Building, Flat Conversions

Looking To Live In A Maisonette? Everything You Should Know

What is a maisonette?  

It is a set of rooms for living in, typically on two storeys of a larger building and having a separate entrance.  

The difference between a maisonette and a flat –  

A maisonette is a two-storey flat, where the front door is your own. This means you can exit your home directly to the outside. However, with a regular flat, you have a shared corridor. And your usual flat consists of several rooms that span a single floor.  

Maisonettes are often more bespoke than flats and aren’t typically sold as part of a development block. They also vary largely in square footage, layout, and spec. Living in a maisonette also gives you more outside space as opposed to a flat.  

Is a maisonette a house? 

They are not necessarily a house although they can come with similar square footage and many of the same perks. For instance, they offer similar privacy to that of a house, and they are argued to be safer. Because with all the windows on the higher level, and the only access is the front for it is less likely you would get burgled. 

Maisonettes are ideal for families because just like a house they often house gardens and sometimes even garages. However, the garden might have to be shared with others in the flats. And you’ll have to access the garden separately outside, typically through a side gate.  

Where can I find them?  

In the UK maisonettes are not uncommon, you can find them usually above shops, in town centres and close to cities. Due to them being slightly smaller and more affordable than a house many are located in cities.  

They are also popular in areas with lots of students because landlords convert one house into two separate dwellings to take on more tenants.  

Is it good to live in one?  

There are plenty of advantages to living in a maisonette the first one is that they are warm and cosy. Being upstairs is a major positive especially in the winter because the heat from the downstairs flat rises and it heats up the house.  

Maisonettes often also have a lot of storage compared to a flat or an apartment. This is because most of them have exterior storage such as a garage.  

Maisonettes itself would be about 20-25% cheaper than the equivalent space in that block.  

Some negatives to living in one –  

Although there are many positives, there are some hurdles to living in a maisonette. With either no off-road parking or a shared driveway parking you can be difficult. And a lot of people find parking on a residential street a nightmare.  

When living above someone you have to be extra neighbourly, you need to be respectful and keep an eye on the amount of noise you make.  

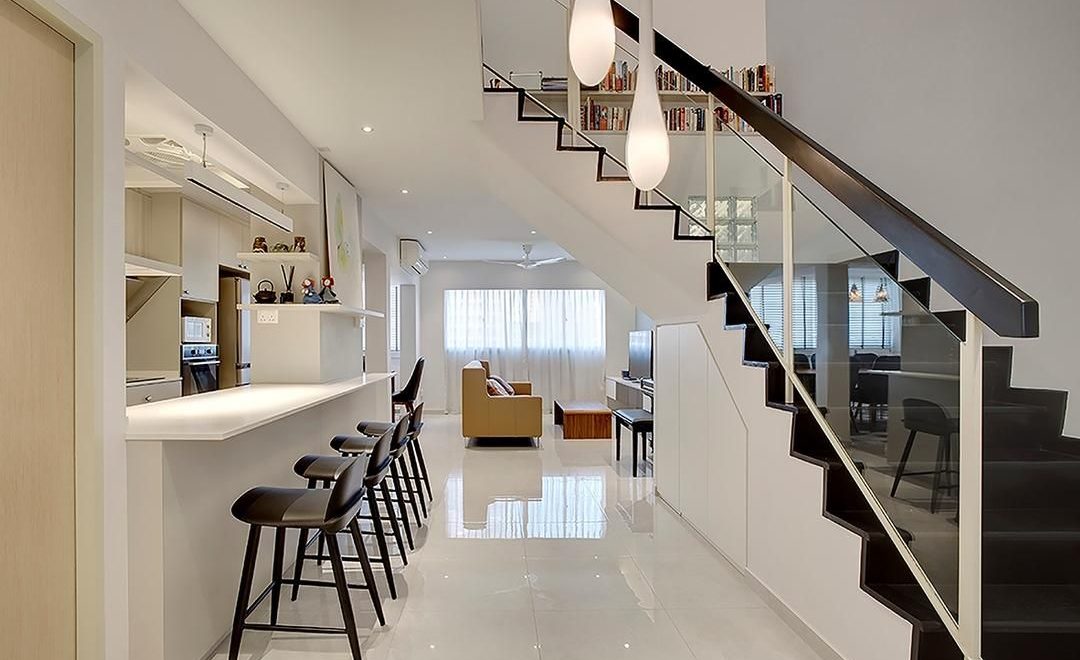
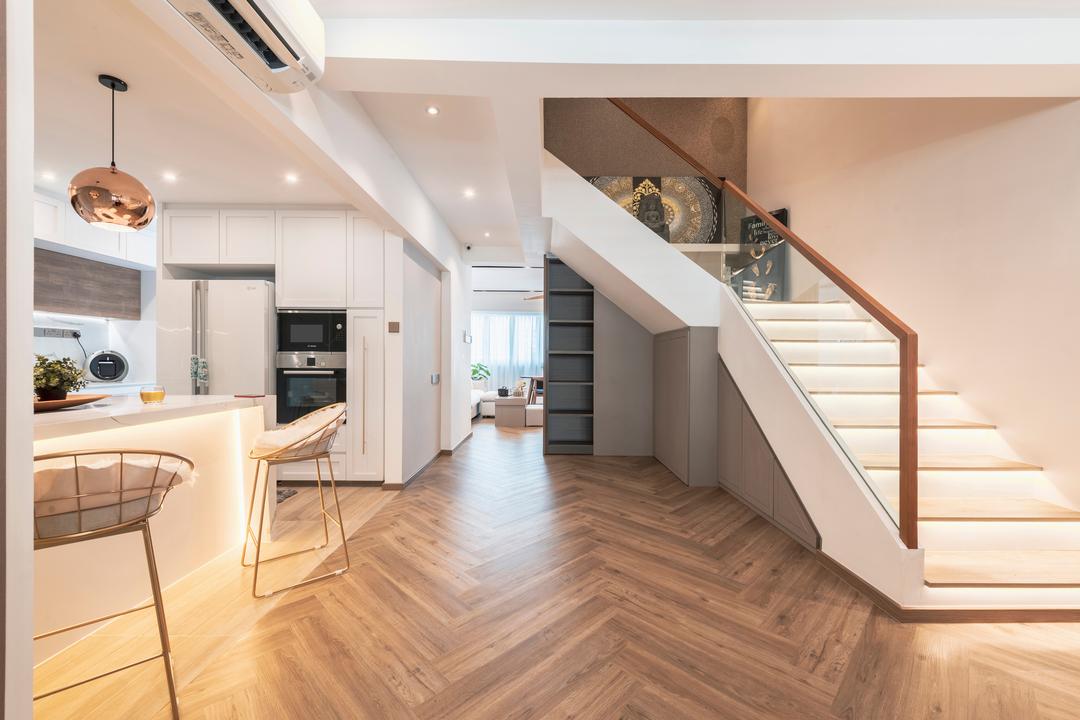
8 Maisonette Designs That Are a Step Up from Your Usual HDBs | Qanvast
A modern maisonette

Contact us

Architecture & Building, House Renovation

An Informative Step By Step Guide To Building A New Home

Looking to build a new home but don’t know where to start? this step by step guide is a perfect way to understand the process of the construction

1. Prepare the construction site 

Firstly, before any construction can happen, the local government must approve the design and provide permits. You will need these permits for everything from home construction, electrical work, plumbing, and planning. Once the permits are required, construction can begin.  

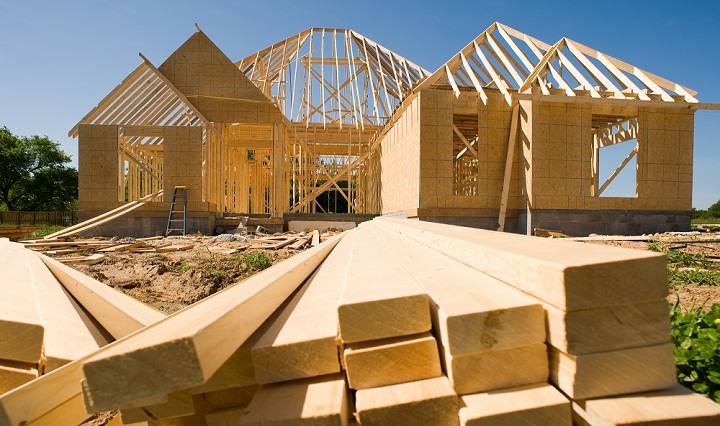
Often site preparation and foundation are performed by the same people. The crew clears the site of rocks, debris, and trees. They then level the site, put up wooden forms to serve as a template for the foundation, and dig holes and trenched. The footings are then formed and poured, as well as the foundation walls. The areas between them are levelled and fitted with plumbing drains and electrical chases; then the slab is poured. Once all of the concrete is set an inspector will visit the site to make sure the foundations are up to code and installed properly. 

2. Complete rough framing  

The floor, walls, and roof systems will all be completed. Usually, plywood sheathing is applied to the exterior walls, roof, and windows and the exterior doors are installed. It is then covered with a protective barrier known as a house wrap. This prevents liquid water from infiltrating the structure. This also reduces the likelihood of d rot.   

3. complete rough plumbing and electrical 

Once the shell is finished the roof can be installed and the following are installed: 

  • Pipes and wires 
  • Water supply lines 
  • Sewer lines and vents  
  • Bathtubs, shower units 
  • Ductwork for HVAC system 
  • HVAC vent pipes 

Once all of the things are installed you will need to have a few more inspections. 

4. install the insulation  

Insulation plays a key role in creating a more comfortable, consistent indoor climate and improving the home’s energy efficiency. The most common types of insulation used in new homes are fiberglass, cellulose, and foam. Most homes are insulated in all exterior walls, as well as the loft and floors.  

5. Complete drywall and the interior fixtures, start the exterior fixtures 

The next step is to hang the drywall and make sure it is taped so the seams are not visible. After the taping is complete the primer coat of paint is applied. Then the contractors will begin installing the external finishes such as brick and stone. 

6. finish interior trim, install driveway and walkways  

All of the interiors get completed and this includes doors, baseboards, window sills, cabinets, vanities, fireplaces, and much more. The walls get the last coats of paint and the wallpaper is applied.  

Generally, the driveway, walkways, and patios are formed at this stage.  

7. install hard surface flooring and countertops  

Ceramic tile, vinyl, and wood flooring are installed as well as the countertops.  

8. finish mechanical trims 

Light fixtures, outlets, and switches are installed and the electrical panel is complete. All of the bathroom fixtures are also installed such as sinks, toilets, baths, and showers.  

9. install finishing touches  

Mirrors, shower doors, and carpet are installed and a big final clean-up takes place. They also complete the landscaping by adding trees, grass, and shrubs  

10. The final walkthrough  

The final step is a walkthrough, your builders will show you and acquaint you with your new home, the features, and the operation of some things. This is also an opportunity to spot items that need to be corrected or adjusted. And also, to check there are no possible damages to the countertops or walls.  

Discover How to Avoid Budget Blowouts when Building a Home | BBBLOGS®
Building a new home

Contact us

Extensions, House Extension

An Informative Step By Step Guide To An Extension

An extension to your home can be an extremely beneficial investment, especially for those that require more space but don’t want to move to another property. And creating additional living space can add a lot of value to your home.    

Step 1 – getting planning permission –  

The first step to creating an extension is confirming and creating an idea for your project. And then once you have decided on the type and style of the extension you require, you must consider whether or not you are permitted to build.  When it comes to extensions either planning permission will be required, or your plan will be accepted following the rules for permitted development.  What is planning permission? Planning permission is the acceptance by the local authority to go ahead with the requested construction plans of a building.    

Step 2 – permitted development rights –  

Permitted development rights are the entitlement to modify a property without the requirement of applying for planning permission. And generally, extensions to a house are covered by permitted development rights.  This is because you need to make sure the extension is within two meters of a boundary maximum eaves height should be no higher than three meters to be permitted development.  

Step 3 – check your budget –  

When it comes to an extension you need to determine a realistic brief that considers the finances of the project and the length of the construction.  You also need to include fees for the architects and designers. This is because their advice can be invaluable, especially when it comes to getting permission.   

Step 4 – think of the design of your extension –  

It is important that you think thoroughly about the design of the extension. You need to think of how the extension will connect to the house. And for example, if you would like to add on the kitchen would you like it to be exposed to the morning sun, or do you prefer a sunset. So, to help with putting your design on paper, it is a good idea to hire an architect.  

Step 5 – what to be aware of when building an extension –  

Listed buildings and conservation areas may have more specific permitted development rights, compared to normal ones. And you should search for expert guidance when it comes to planning. 

Step 6 – applying to a building regulations officer –  

Once that it is confirmed your extension doesn’t need planning permission or if the plans have been accepted it will need to be approved by a building regs officer.  Drawings will then need to be created by an architect and be submitted.  

Step 7 – party wall act –  

The party wall act ensures that the extension doesn’t exceed the boundary of the neighbor’s property. And the neighbors need to be informed of any proposed work in advance.  A party wall surveyor is responsible for producing a party wall award. This will protect you if any unfortunate circumstances where disputes may arise.  

Step 8 – let the Council know –  

Your local Council has to be informed about the extension plans.  

Step 9 – contact professionals –  

The sooner you get in touch the better it will be for you. You should contact planners, contractors, and builders as soon as possible, to have a clear idea of the scale of the project.  

Step 10 – check insurance –  

You should check whether your house insurance is still valid during construction and if it can be extended to site insurance during the works. You should also check the workers’ insurance to see if it is necessary for your site.  

Step 11 – start building  

An extension in the works

Contact us

Advice Center, Planning Permission

Top Things You Need To Know About Listed Buildings

What is a listed building? 

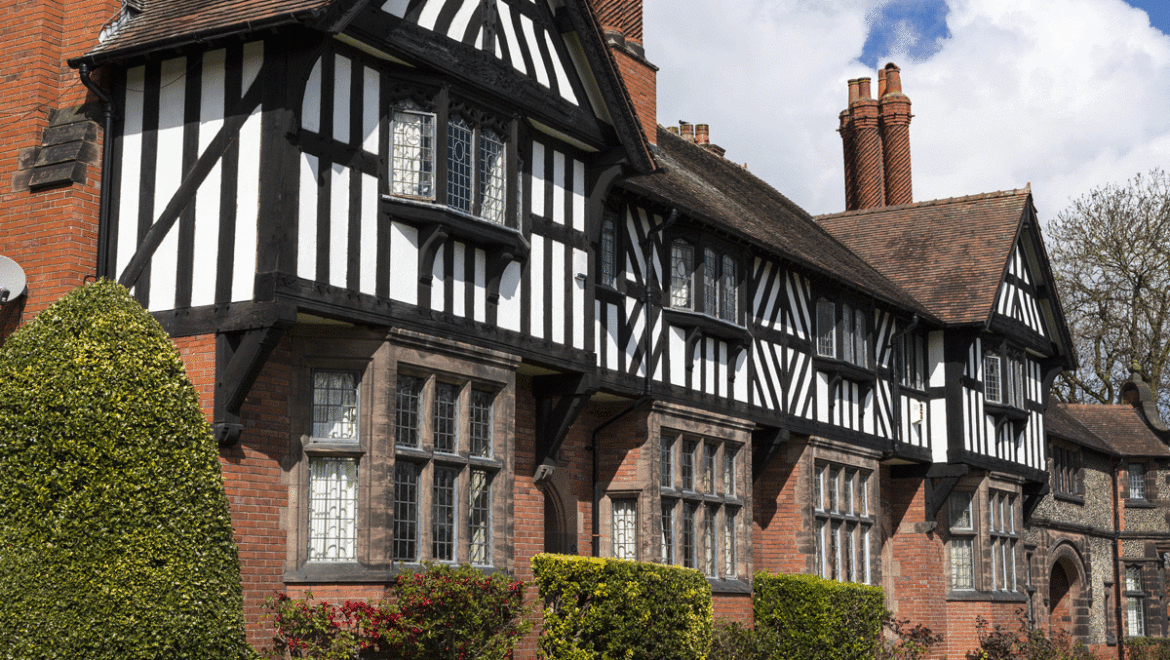
A listed building is one that has been placed on one of the four statutory lists maintained by Historic England, historic environment Scottland, and in Wales and historic Northern Ireland. A listed building may not be demolished, extended, or altered without special permission from the local planning authority. 

There are three types of listed buildings and they are:  

  • A Grade l – Buildings of exceptional interest. 
  • Grade ll* – Particularly important building of more than special interest.  
  • Grade ll – Buildings that are of special interest, warranting every effort to preserve them. 

How to know if your buildings are listed?  

You are able to check if the property is listed by viewing the national heritage list for England.  

If you are planning to buy a listed building, a full building survey (RICS level 3) is recommended. And these surveys are tailored to each individual property and cover everything that is possible to access and assess.  

When building on a listed property you will firstly need to get both planning permission and consent. So you will then need patience, stamina, and a good architect. This is because there’s a lot that goes into building on a listed property. 

What happens if you don’t get consent?  

Carrying out building works to a listed building or changing it in any way without consent can result in court action and legal penalties. And it is also illegal to fail to comply with an enforcement notice.  

Because of how much more work it is renovating or trying to get permission, it can cost between 30-50% more to make changes to a listed building than a normal one.  

Listed buildings account for about 2% of English building stock. And in March 2010, there were about 374,000 list entries, of which 92% were grade ll, 5.5% were grade ll* and 2.5% were grade l. So it’s estimated that there are about 500,000 actual listed buildings in England. 

If your house is Grade I or Grade II* listed it may be appropriate to use traditional paints with white lead pigment or high solvent content. However, their toxicity means they are restricted by environmental legislation and their use permitted only under licence. 

Buying a listed building? Expert advice to ease the process | Tayler and  Fletcher
Listed buildings

Contact us